Használati útmutató Antec NSK 1480 - EC
Antec Számítógép behuzás NSK 1480 - EC
Olvassa el alább 📖 a magyar nyelvű használati útmutatót Antec NSK 1480 - EC (7 oldal) a Számítógép behuzás kategóriában. Ezt az útmutatót 19 ember találta hasznosnak és 9 felhasználó értékelte átlagosan 4.4 csillagra
Oldal 1/7
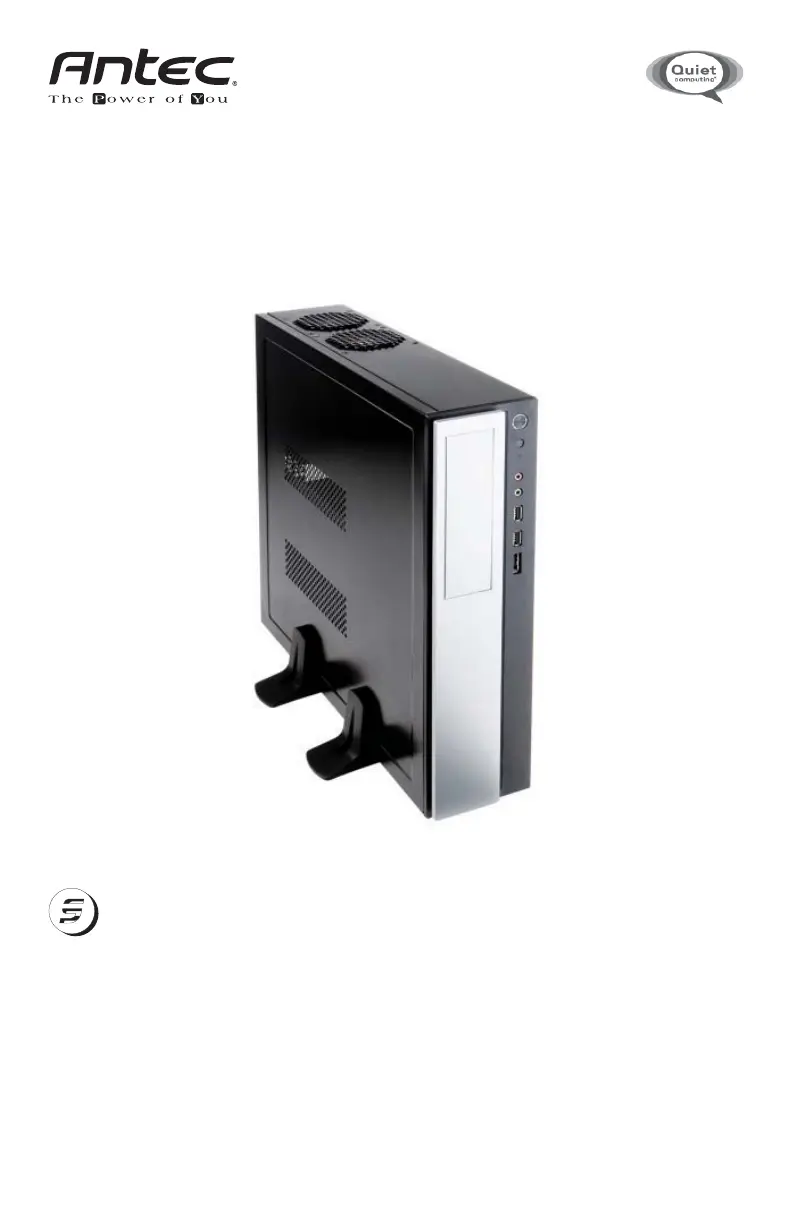
New Solution Series
NSK 1480
User’s Manual
Manuel de l’utilisateur
Anwenderhandbuch
Manuale per l’operatore
Manual del usuario
পᡅ䂀ᯢ
Termékspecifikációk
| Márka: | Antec |
| Kategória: | Számítógép behuzás |
| Modell: | NSK 1480 - EC |
Szüksége van segítségre?
Ha segítségre van szüksége Antec NSK 1480 - EC, tegyen fel kérdést alább, és más felhasználók válaszolnak Önnek
Útmutatók Számítógép behuzás Antec

27 December 2024
24 Augusztus 2024
24 Augusztus 2024
24 Augusztus 2024
24 Augusztus 2024
24 Augusztus 2024
24 Augusztus 2024
24 Augusztus 2024
24 Augusztus 2024
24 Augusztus 2024
Útmutatók Számítógép behuzás
Legújabb útmutatók Számítógép behuzás
9 Április 2025
7 Április 2025
5 Április 2025
3 Április 2025
2 Április 2025
1 Április 2025
1 Április 2025
30 Március 2025
30 Március 2025
29 Március 2025