Használati útmutató Audiovox ACA501D
Olvassa el alább 📖 a magyar nyelvű használati útmutatót Audiovox ACA501D (4 oldal) a Dashcam kategóriában. Ezt az útmutatót 12 ember találta hasznosnak és 8 felhasználó értékelte átlagosan 4.6 csillagra
Oldal 1/4
Electronics
Corporation
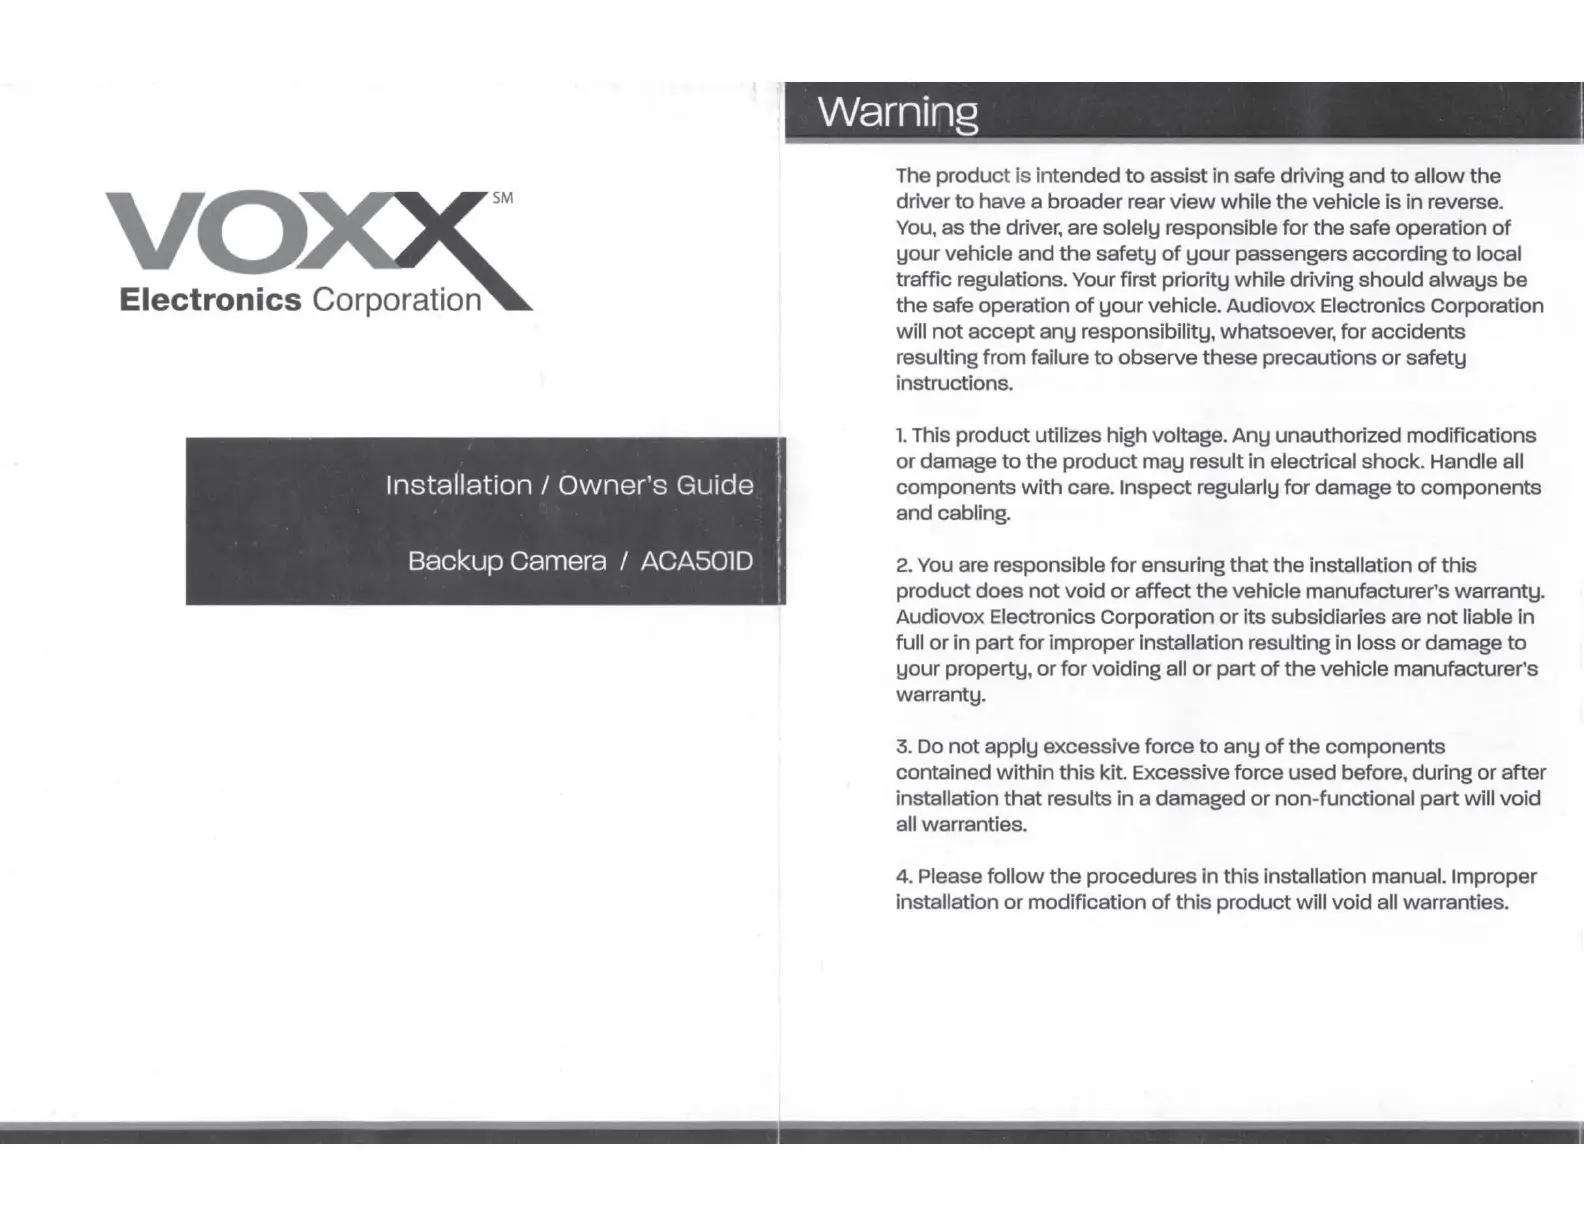
Installation
/
Owner's
Guide
Backup Camera I
ACA501D
'
Warning
I
The product is intended
to
assist
in safe driving and
to
allow
the
driver
to
have a broader rear
view
while
the
vehicle
is
in
reverse.
You,
as
the
driver, are solely responsible for
the
safe operation
of
your
vehicle and
the
safety
of
your
passengers according
to
local
traffic regulations. Your first priority while driving should
always
be
the
safe operation
of
your
vehicle. Audiovox Electronics Corporation
will
not
accept
any
responsibility, whatsoever, for accidents
resulting from failure
to
observe
these
precautions or
safety
instructions.
1.
This
product
utilizes high voltage.
Any
unauthorized modifications
or damage
to
the
product
may
result in electrical shock. Handle all
components
with
care. Inspect regularly for damage
to
components
and cabling.
2.
You are responsible for ensuring
that
the
installation
of
this
product
does
not
void
or
affect
the
vehicle manufacturer's warranty.
Audiovox Electronics Corporation
or
its
subsidiaries are
not
liable in
full
or
in
part for improper installation resulting in loss or damage
to
your
property, or for voiding all
or
part
of
the
vehicle manufacturer's
warranty.
3.
Do
not
apply excessive force
to
any
of
the
components
contained
within
this
kit. Excessive force
used
before, during
or
after
installation
that
results
in
a damaged
or
non-functional
part
will
void
all warranties.
4. Please follow
the
procedures
in
this
installation manual. Improper
installation
or
modification
of
this
product
will void all warranties.
Termékspecifikációk
| Márka: | Audiovox |
| Kategória: | Dashcam |
| Modell: | ACA501D |
Szüksége van segítségre?
Ha segítségre van szüksége Audiovox ACA501D, tegyen fel kérdést alább, és más felhasználók válaszolnak Önnek
Útmutatók Dashcam Audiovox

27 Augusztus 2024
27 Augusztus 2024
27 Augusztus 2024
27 Augusztus 2024
27 Augusztus 2024
27 Augusztus 2024
27 Augusztus 2024
27 Augusztus 2024
27 Augusztus 2024
27 Augusztus 2024
Útmutatók Dashcam
Legújabb útmutatók Dashcam
14 Január 2025
14 Január 2025
14 Január 2025
13 Január 2025
11 Január 2025
11 Január 2025
11 Január 2025
11 Január 2025
7 Január 2025
7 Január 2025