Használati útmutató Smart-AVI FVX-2000S
Smart-AVI AV hosszabbító FVX-2000S
Olvassa el alább 📖 a magyar nyelvű használati útmutatót Smart-AVI FVX-2000S (2 oldal) a AV hosszabbító kategóriában. Ezt az útmutatót 21 ember találta hasznosnak és 3 felhasználó értékelte átlagosan 4.7 csillagra
Oldal 1/2
©
Cop
y
r
i
g
ht
2
00
4
Sm
a
r
t-
AVI,
A
ll
Ri
g
ht
s
Re
s
e
r
ve
d
N
oti
c
e
Theinformationcontainedinthisdocumentis
subjecttochangewithoutnotice.Smart-AVImakes
nowarrantyofanykind withregard tothismaterial,
includingbutnotlimitedto,impliedwarrantiesof
merchantabilityandfitnessforanyparticular
purpose.
Smart-AVIwillnotbeliableforerrorscontainedherein
orforincidentalorconsequentialdamagesin
connectionwiththefurnishing,performanceoruse
ofthismaterial.
Nopartofthisdocumentmaybephotocopied,
reproducedortranslatedintoanotherlanguagewith
outpriorwrittenconsentfromSmart-AVI.
Forthecompletemanual,visitwww.smartavi.com.
www
.
sm
a
r
ta
v
i
.
c
o
m
UserManual
28
4
0
N.
N
a
o
mi
Av
e.
B
urbank
,
Ca
li
for
nia
9
1
504
P
hone
:
(
81
8
)
565
-
0
0
1
1
Fa
csimile
:
(8
1
8
)
565
-
002
0
T
echnica
l
Sp
ecifications
m_fvx2000-112409
FVX-2000
S
PECIFICATIONS FVX-2000
M
onitorsVGA
,
SVGA
,
XGA and VES
A
V
ideo Si
g
na
l
A
nalo
g
Si
g
nal: Red, Green, Blue,
0
.7Vp-p/75 ohms positiv
e
Resolut
i
on - 1600x120
0
Bandwidth - 2
00
MHz
Sy
nc TTL
C
ompatibl
e
K
eyboard/mous
e
C
PUs - IBM P
C,
S
UN
,
MA
C
-ADB
Keyboard - PS/2, MAC-ADB, SU
N
M
ouse - P
S
/2, Wheel Mouse
S
oftware - Independent
S
ize/Weight:
(
Inches
)
4
.38”
(
W
)
x 5.28”
(
L
)
x 1.63
(
H
)
, 5lb
s
P
ower
S
upply110
/
240 -5VD
C
-3
A
F
ibe
r
F
iber –
SC
-t
y
pe
0/
125μ multimode fiber – 1,400 feet
62.5
/
125μ multimode fiber – 700 fee
t
O
RDER INFO
M
odel Descriptio
n
FVX-2000 KVM vga/ps2 fiber
extender. Includes:
[FVX-TX2000,
FVX-RX2000,
(CCKVMMF06) and
2x (PS5VD3A)]
Extends and share any PC Equipped
with XVGA and PS/2 KVM Signals up
to 1,400 Feet with Multimode Fibers
KVM switching
The FVX2000 with local KVM access allows an additional KVM
station to be connected to the transmitter. The CPU or KVM
switch can easily be operated from the remote or local KVM
station not simultaneously. The transmitter is active during
boot-up and the connected CPUs video is displayed on both
the transmitter and remote KVM stations monitor.
To activate the receiver’s KVM station, simply press any key on
the KVM stations keyboard. To activate the transmitters KVM
station, press any key on the KVM station’s keyboard.
© Copyright 2012 SmartAVI, All Rights Reserved
NOTICE
The information contained in this document
is subject to change without notice. Smart-AVI makes
no warranty of any kind with regard to this material,
including but not limited to, implied warranties of
merchantability and fitness for any particular purpose.
Smart-AVI will not be liable for errors contained herein or for
incidental or consequential damages in connection with the
furnishing, performance or use of this material.
No part of this document may be photocopied, reproduced or
translated into another language without prior written consent
from Smart-AVI.
For more information, visit www.smartavi.com.
SmartAVI, Inc. / Twitter: smartavi
11651 Vanowen St. North Hollywood, CA 91605
Tel: (818) 503-6200 Fax: (818) 503-6208
http://www.SmartAVI.com
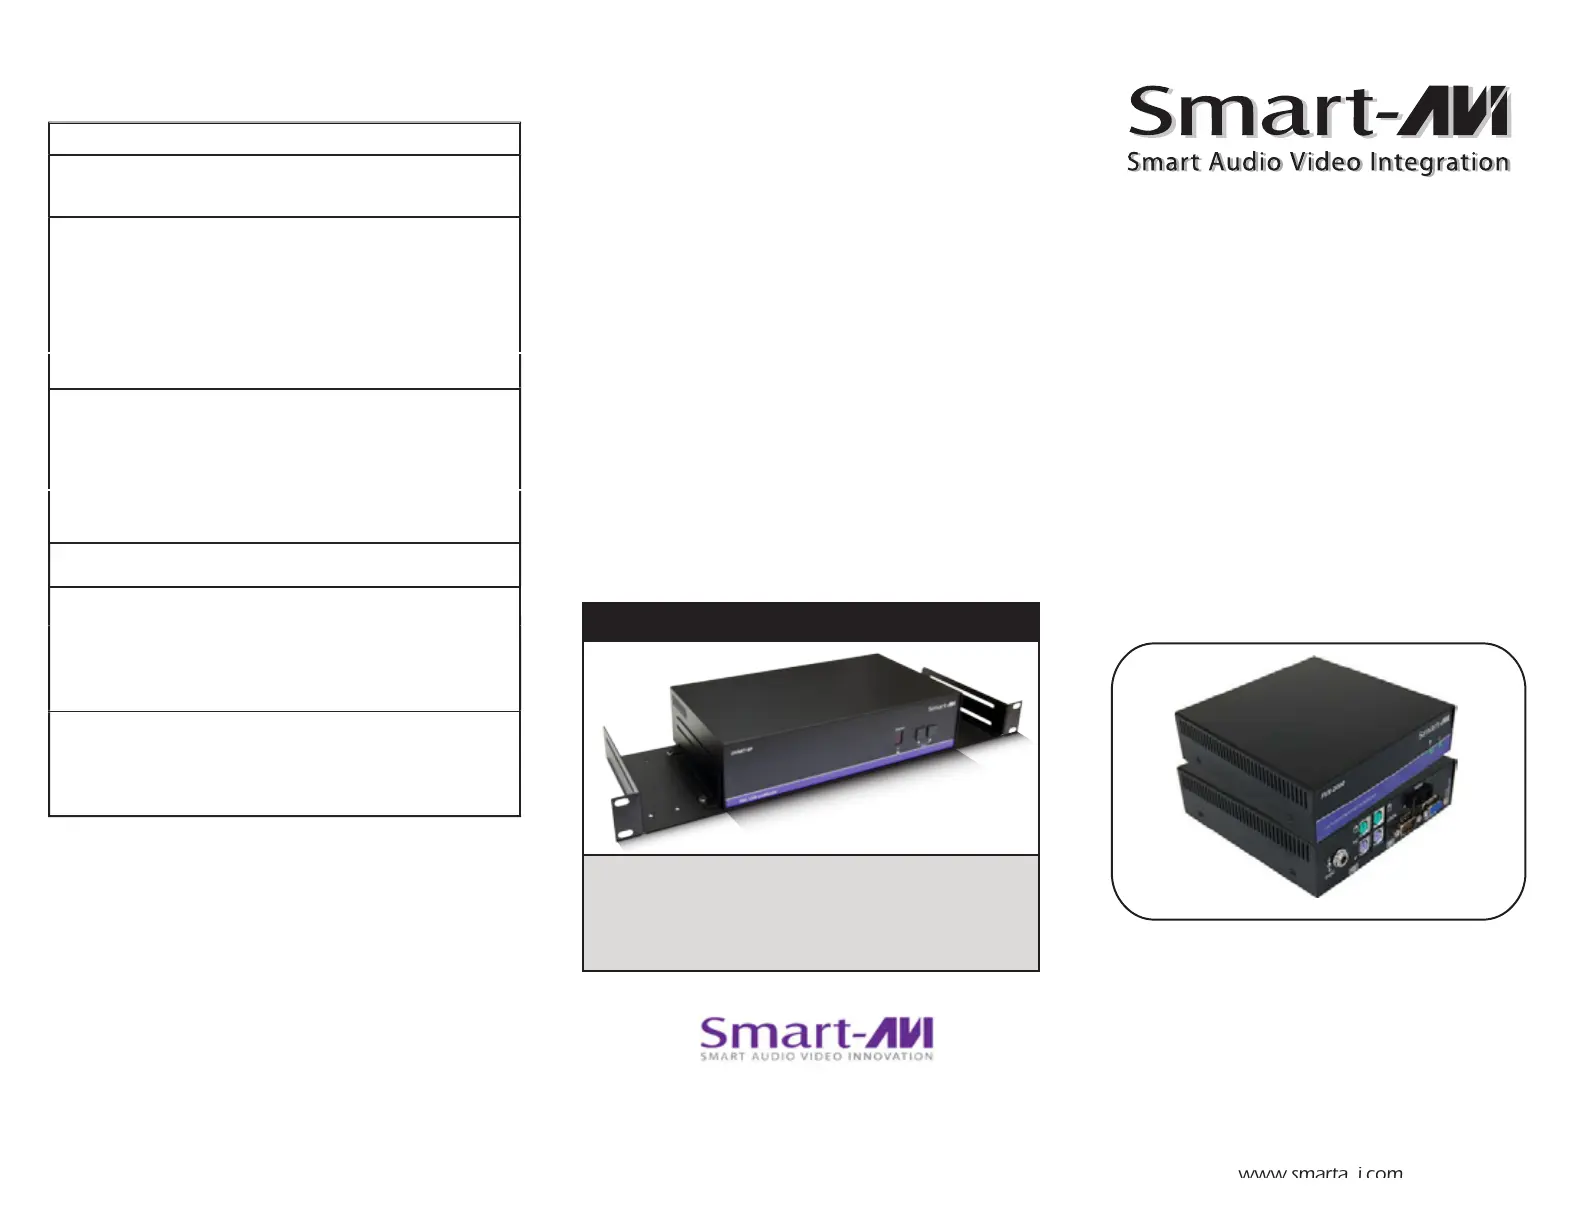
Rack Mountable Option
Our SmartRack is the perfect solution to allow
virtually all SmartAVI devices to be custom mounted
in a standard 19” server rack. The SmartRack is fully
adjustable and can secure/organize several devices.
© Copyright 2012 SmartAVI, All Rights Reserved
NOTICE
The information contained in this document
is subject to change without notice. Smart-AVI makes
no warranty of any kind with regard to this material,
including but not limited to, implied warranties of
merchantability and fitness for any particular purpose.
Smart-AVI will not be liable for errors contained herein or for
incidental or consequential damages in connection with the
furnishing, performance or use of this material.
No part of this document may be photocopied, reproduced or
translated into another language without prior written consent
from Smart-AVI.
For more information, visit www.smartavi.com.
SmartAVI, Inc. / Twitter: smartavi
11651 Vanowen St. North Hollywood, CA 91605
Tel: (818) 503-6200 Fax: (818) 503-6208
http://www.SmartAVI.com
Rack Mountable Option
Our SmartRack is the perfect solution to allow
virtually all SmartAVI devices to be custom mounted
in a standard 19” server rack. The SmartRack is fully
adjustable and can secure/organize several devices.
Termékspecifikációk
| Márka: | Smart-AVI |
| Kategória: | AV hosszabbító |
| Modell: | FVX-2000S |
Szüksége van segítségre?
Ha segítségre van szüksége Smart-AVI FVX-2000S, tegyen fel kérdést alább, és más felhasználók válaszolnak Önnek
Útmutatók AV hosszabbító Smart-AVI

10 Január 2025
10 Január 2025
4 Január 2025
2 Január 2025
2 Január 2025
2 Január 2025
2 Január 2025
2 Január 2025
2 Január 2025
2 Január 2025
Útmutatók AV hosszabbító
Legújabb útmutatók AV hosszabbító
8 Április 2025
2 Április 2025
2 Április 2025
2 Április 2025
2 Április 2025
1 Április 2025
16 Január 2025
14 Január 2025
14 Január 2025
14 Január 2025