Használati útmutató AudioControl TXGM19D10
AudioControl nincs kategorizálva TXGM19D10
Olvassa el alább 📖 a magyar nyelvű használati útmutatót AudioControl TXGM19D10 (12 oldal) a nincs kategorizálva kategóriában. Ezt az útmutatót 20 ember találta hasznosnak és 4 felhasználó értékelte átlagosan 4.3 csillagra
Oldal 1/12
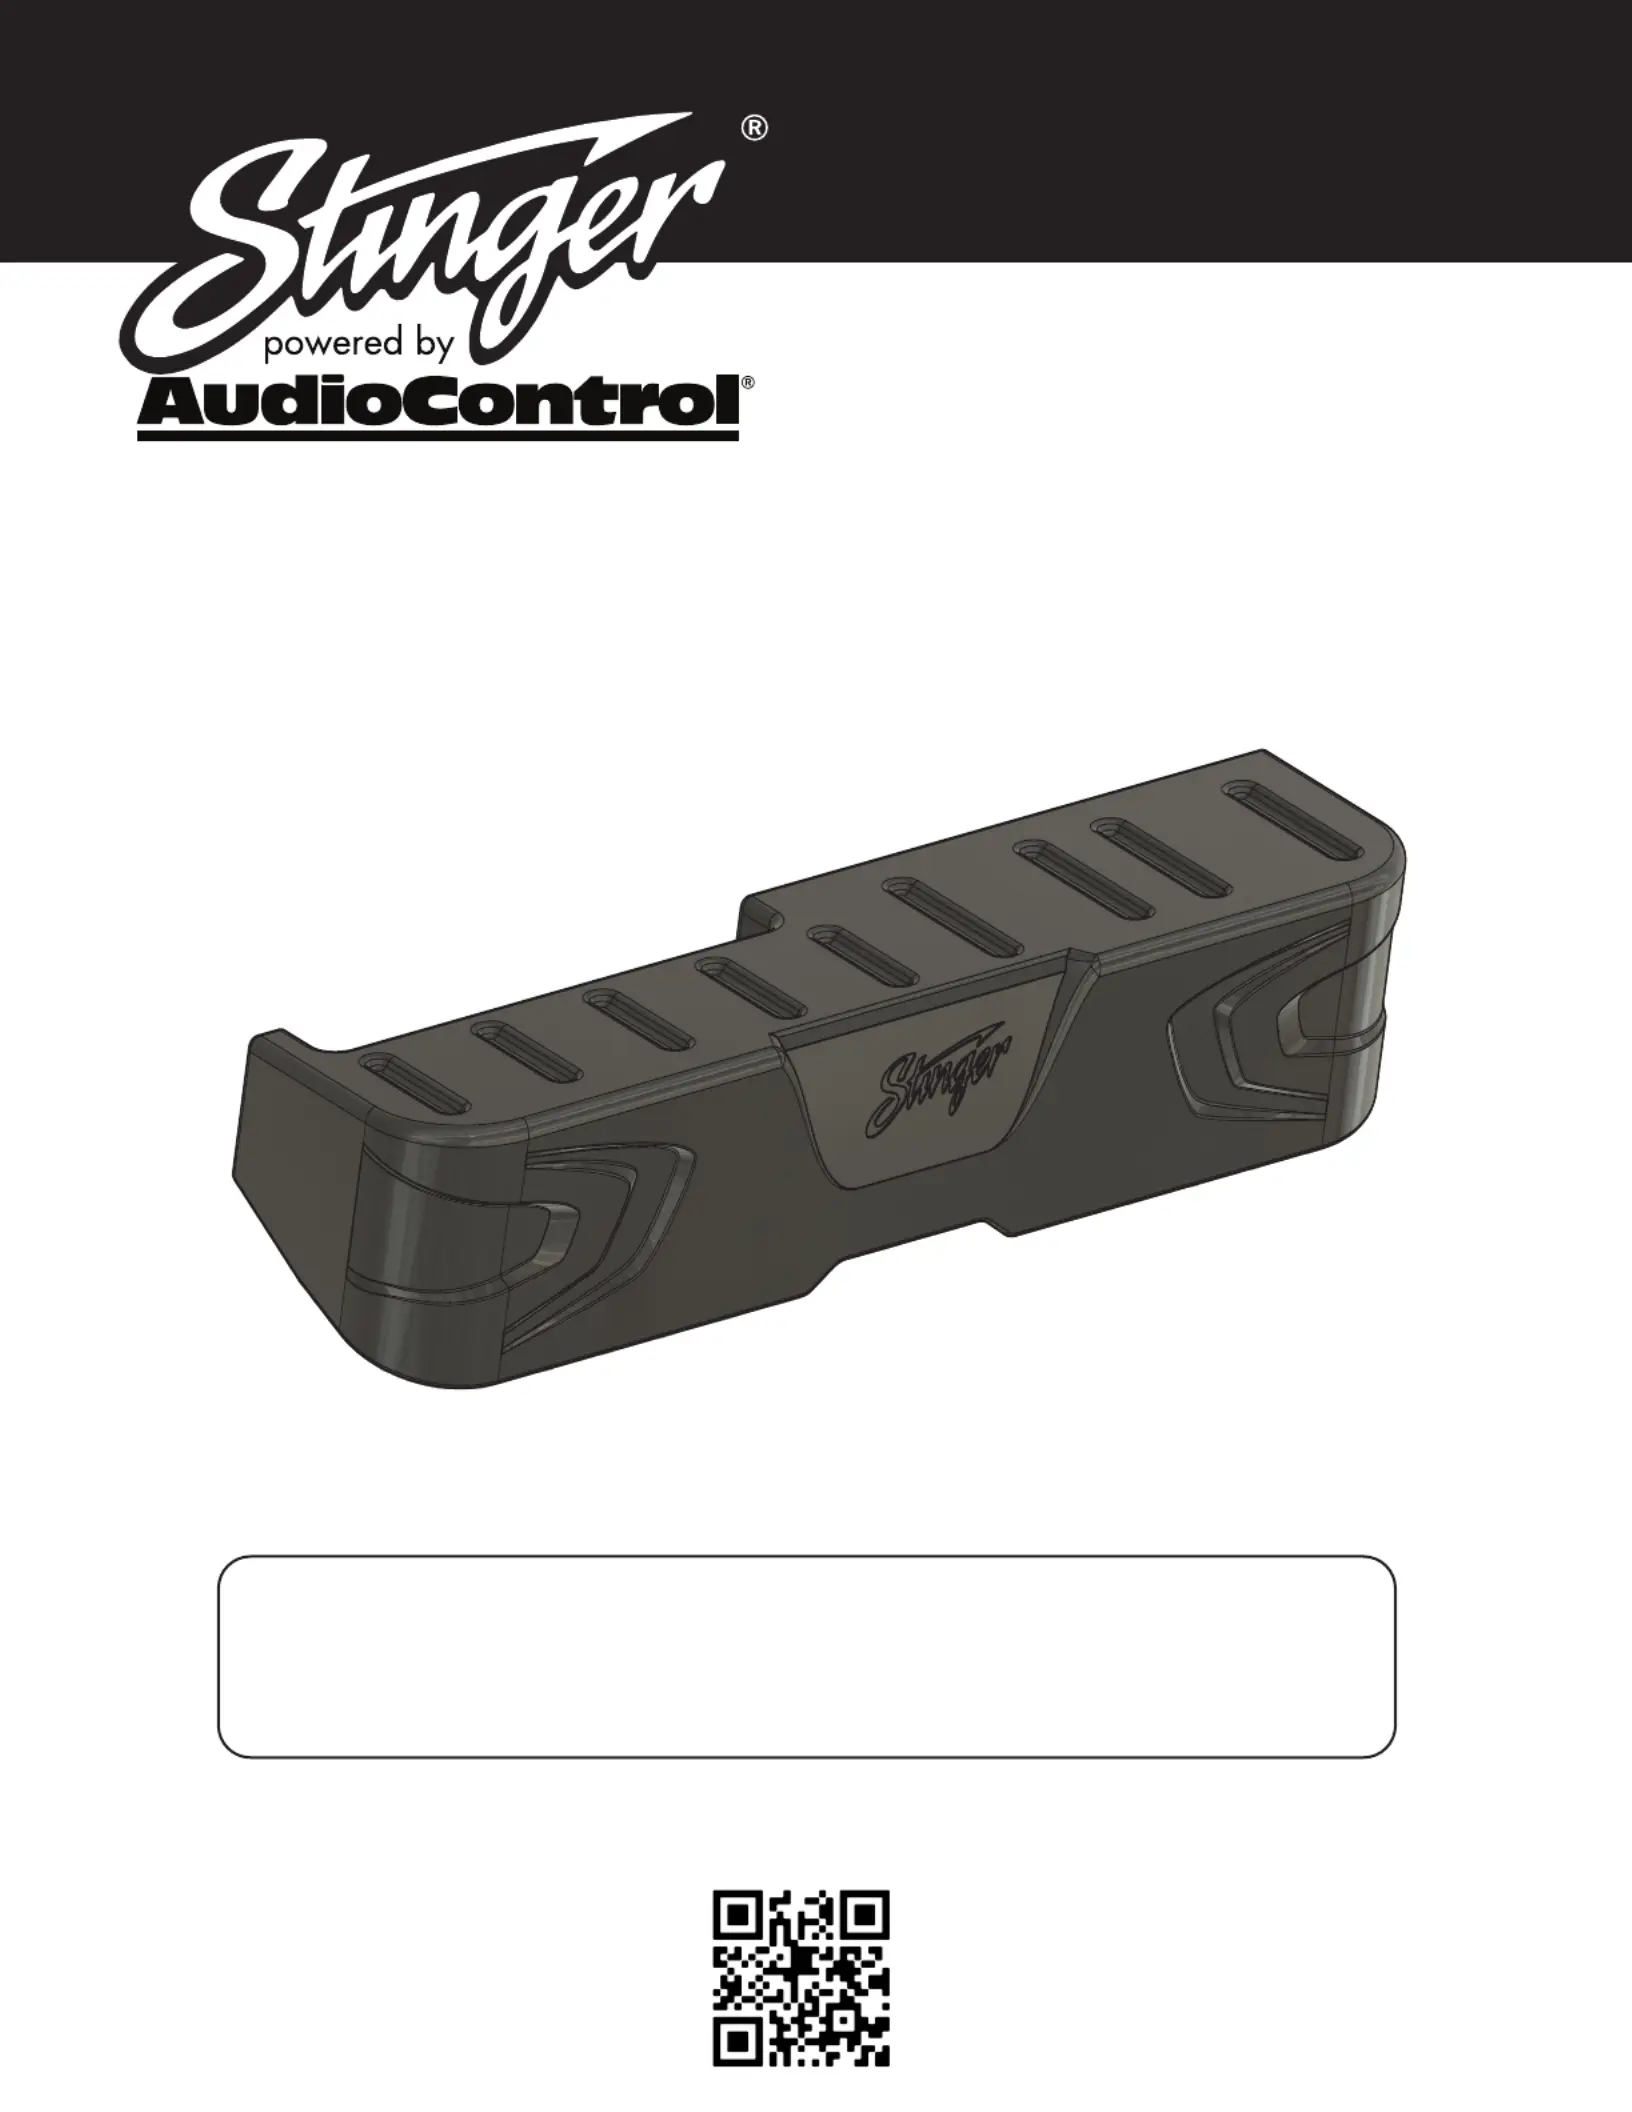
INSTALLATION GUIDE
NOTE! Read this installation guide thoroughly before disassembling or modifying the
vehicle. Installation of this product requires technical skill, experience and specialized
tools. If in doubt, it’s recommended to have it professionally installed by an authorized
StingerAudioControl or Dealer.
TXGM19D10
A video installation guide is available at:
Dual 10” nder SeatSubwoofer EnclosureU
F GM Crew Cab TrucksorChevrolet
2019+ Sierra / Silverado 1500
2020+ Sierra / Silverado 2500 / 3500
Termékspecifikációk
| Márka: | AudioControl |
| Kategória: | nincs kategorizálva |
| Modell: | TXGM19D10 |
Szüksége van segítségre?
Ha segítségre van szüksége AudioControl TXGM19D10, tegyen fel kérdést alább, és más felhasználók válaszolnak Önnek
Útmutatók nincs kategorizálva AudioControl

15 Január 2025
15 Január 2025
28 Szeptember 2024
28 Szeptember 2024
1 Szeptember 2024
1 Szeptember 2024
1 Szeptember 2024
1 Szeptember 2024
1 Szeptember 2024
31 Augusztus 2024
Útmutatók nincs kategorizálva
Legújabb útmutatók nincs kategorizálva
10 Április 2025
10 Április 2025
10 Április 2025
9 Április 2025
9 Április 2025
9 Április 2025
9 Április 2025
9 Április 2025
9 Április 2025
9 Április 2025