Használati útmutató Growatt ARK XH
Olvassa el alább 📖 a magyar nyelvű használati útmutatót Growatt ARK XH (3 oldal) a Accu kategóriában. Ezt az útmutatót 22 ember találta hasznosnak és 8 felhasználó értékelte átlagosan 4.0 csillagra
Oldal 1/3
Download
Manual
Growatt New Energy
Shenzhen Growatt New Energy Co., Ltd
+86 755 2747 1942
www.ginverter.com
T
E
W
service@ginverter.com
GR-UM-242-A-01
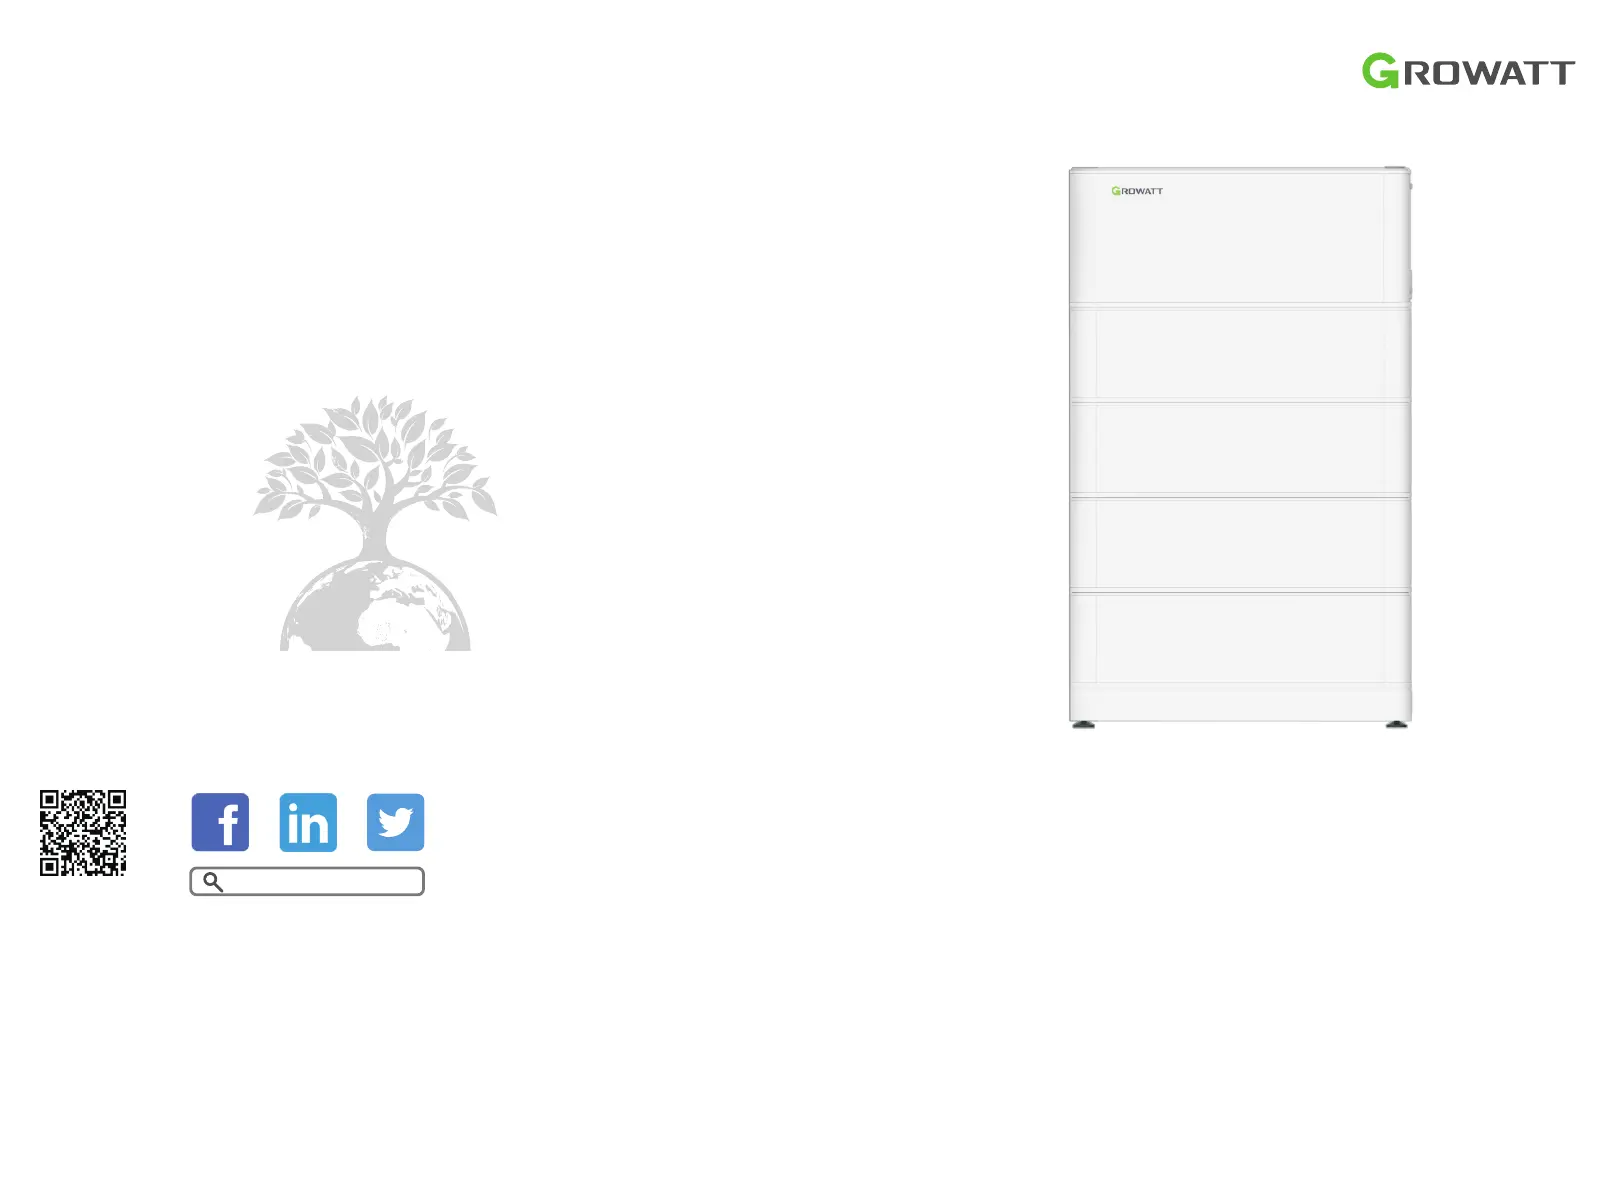
ARK 5.1-25.6XH-A1 High Voltage Battery System
User Manual (V1.0)
4-13/F,Building A,Sino-German(Europe) Industrial Park,
Hangcheng Ave, Bao'an District, Shenzhen, China
Termékspecifikációk
| Márka: | Growatt |
| Kategória: | Accu |
| Modell: | ARK XH |
Szüksége van segítségre?
Ha segítségre van szüksége Growatt ARK XH, tegyen fel kérdést alább, és más felhasználók válaszolnak Önnek
Útmutatók Accu Growatt

19 Augusztus 2024
18 Augusztus 2024
18 Augusztus 2024
17 Augusztus 2024
17 Augusztus 2024
Útmutatók Accu
Legújabb útmutatók Accu
3 Április 2025
10 Január 2025
4 Január 2025
3 Január 2025
1 Január 2025
31 December 2025
31 December 2025
31 December 2025
30 December 2025
30 December 2025