Használati útmutató Joy-It RB-Proto+
Joy-It nincs kategorizálva RB-Proto+
Olvassa el alább 📖 a magyar nyelvű használati útmutatót Joy-It RB-Proto+ (4 oldal) a nincs kategorizálva kategóriában. Ezt az útmutatót 23 ember találta hasznosnak és 8 felhasználó értékelte átlagosan 4.6 csillagra
Oldal 1/4
JoyIT powered by SIMAC Electronics GmbH Pascalstr. 8 47506 NeukirchenVluyn www.joyit.net------
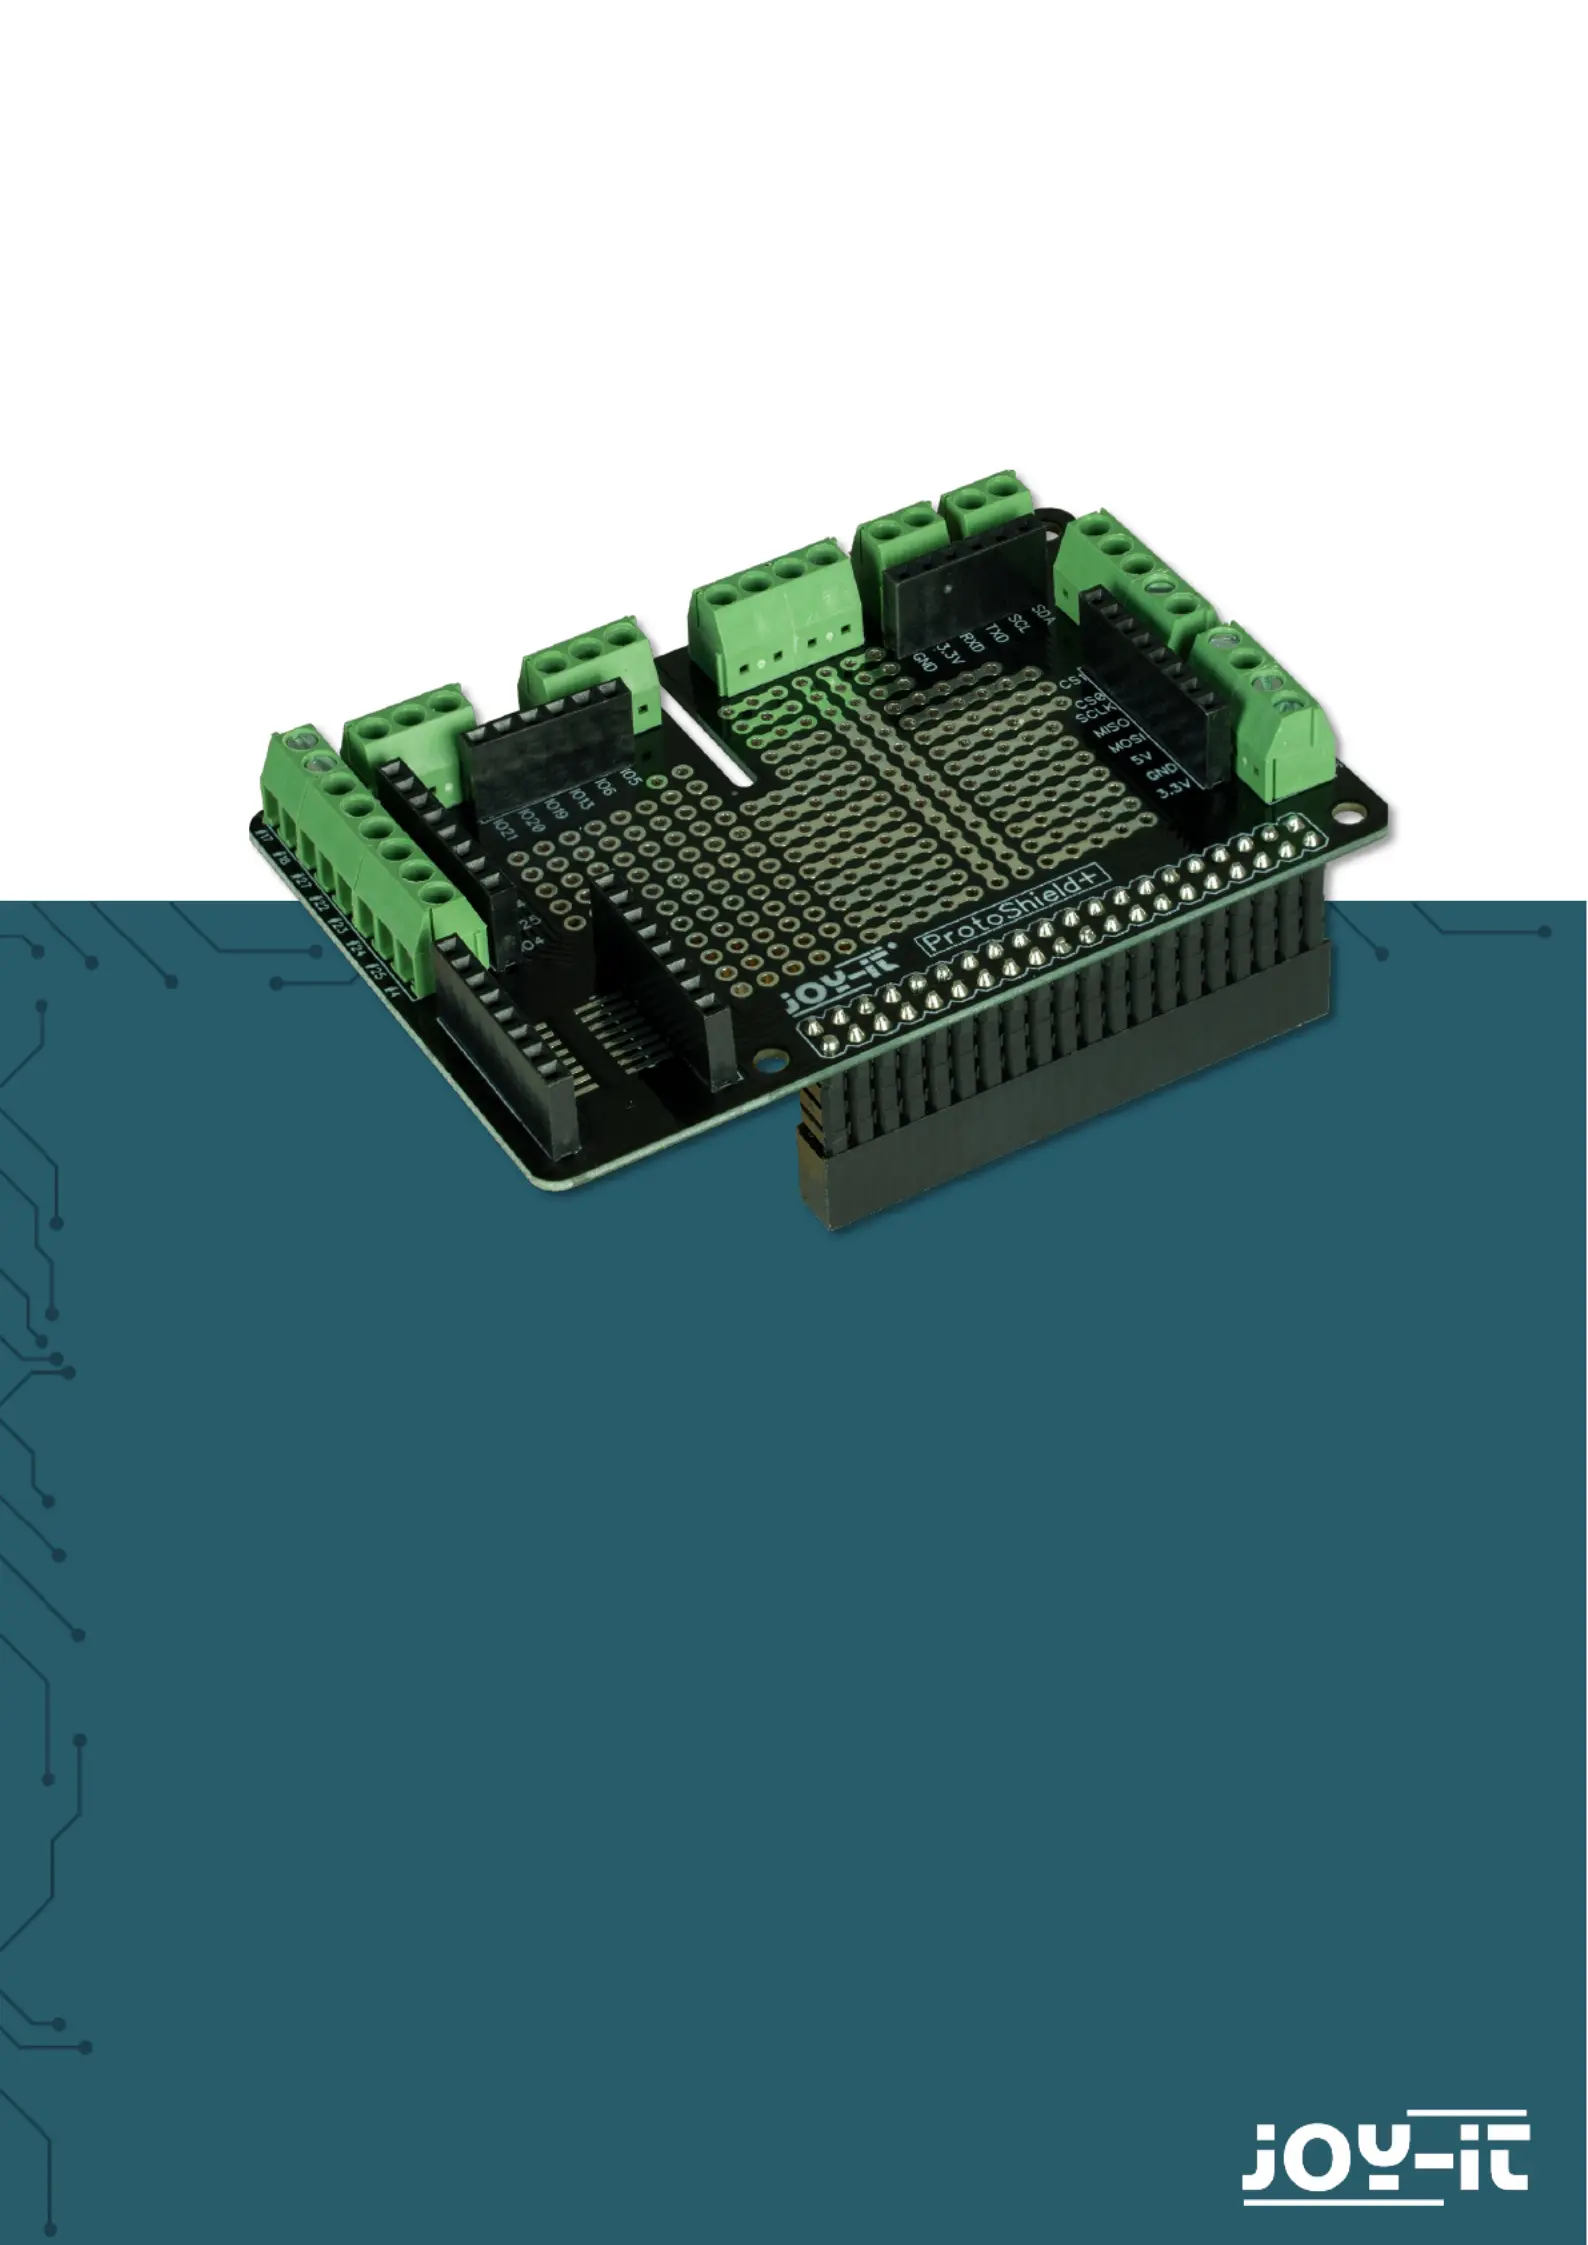
RB-PROTO+
Prototype expansion board for plugging directly onto the
Pi
Termékspecifikációk
| Márka: | Joy-It |
| Kategória: | nincs kategorizálva |
| Modell: | RB-Proto+ |
Szüksége van segítségre?
Ha segítségre van szüksége Joy-It RB-Proto+, tegyen fel kérdést alább, és más felhasználók válaszolnak Önnek
Útmutatók nincs kategorizálva Joy-It

8 Április 2025
8 Április 2025
15 Január 2025
2 Január 2025
28 December 2024
5 December 2024
5 December 2024
4 Szeptember 2024
3 Szeptember 2024
1 Szeptember 2024
Útmutatók nincs kategorizálva
Legújabb útmutatók nincs kategorizálva
10 Április 2025
10 Április 2025
10 Április 2025
9 Április 2025
9 Április 2025
9 Április 2025
9 Április 2025
9 Április 2025
9 Április 2025
9 Április 2025