Használati útmutató Mount-It! MI-394
Mount-It! TV fali konzol MI-394
Olvassa el alább 📖 a magyar nyelvű használati útmutatót Mount-It! MI-394 (8 oldal) a TV fali konzol kategóriában. Ezt az útmutatót 53 ember találta hasznosnak és 8 felhasználó értékelte átlagosan 4.9 csillagra
Oldal 1/8
WARNING: This installation manual is intended to provide guidance on how
to install the TV mount and the TV on a suitable wall. Please contact a
quali
fied professional if you are unsure of the steps described in the manual
or have doubts about the safety of the installation. Improper installation
may cause damage or serious injury. We cannot be held liable for damage
or injury caused by improper mounting, incorrect assembly, inappropriate
use or for use cases not explicitly speci
fied in this document.
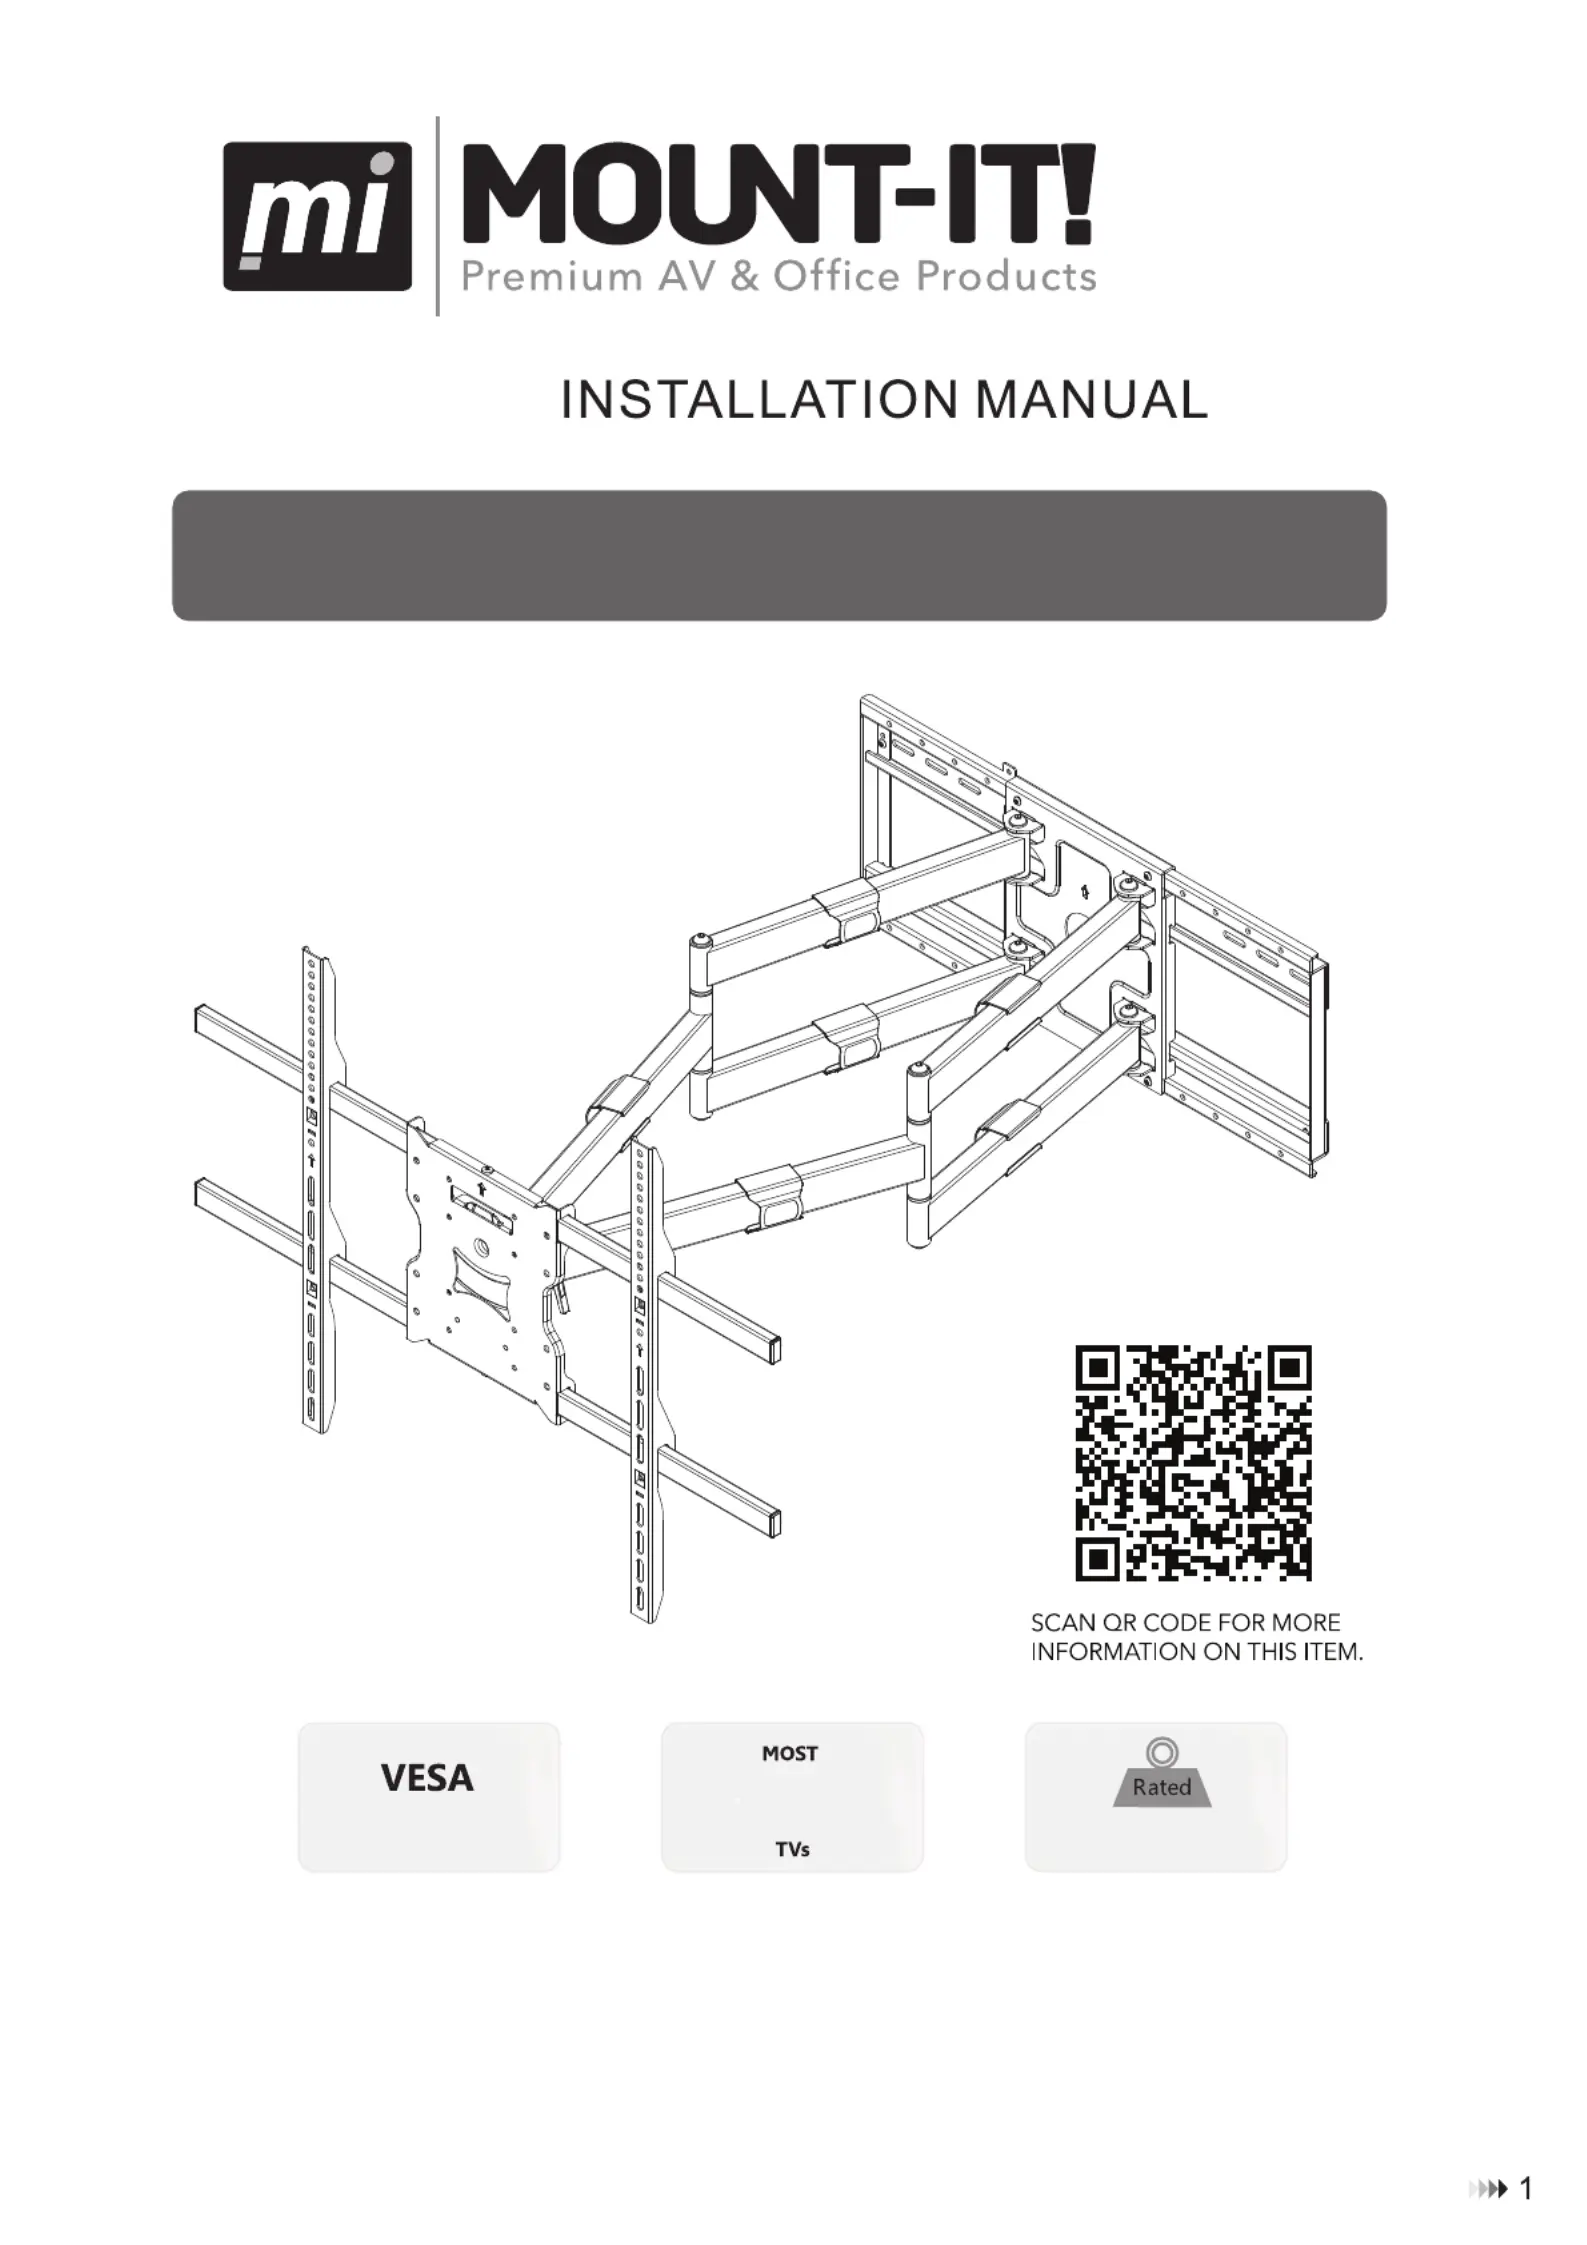
MI-394
65″-110″
125kg/275lbs
600x400.800x600
100x100.200x200.300x300.
400x200.400x400
Full Motion TV Wall Mount With
Long Extension Dual Arms
Termékspecifikációk
| Márka: | Mount-It! |
| Kategória: | TV fali konzol |
| Modell: | MI-394 |
Szüksége van segítségre?
Ha segítségre van szüksége Mount-It! MI-394, tegyen fel kérdést alább, és más felhasználók válaszolnak Önnek
Útmutatók TV fali konzol Mount-It!

19 Június 2024
19 Június 2024
19 Június 2024
19 Június 2024
19 Június 2024
19 Június 2024
19 Június 2024
19 Június 2024
19 Június 2024
Útmutatók TV fali konzol
Legújabb útmutatók TV fali konzol
21 Június 2024
21 Június 2024
21 Június 2024
21 Június 2024
21 Június 2024
21 Június 2024
21 Június 2024
21 Június 2024
18 Június 2024
18 Június 2024