Használati útmutató Odys Beam
Odys Ipod Audio Beam
Olvassa el alább 📖 a magyar nyelvű használati útmutatót Odys Beam (10 oldal) a Ipod Audio kategóriában. Ezt az útmutatót 22 ember találta hasznosnak és 6 felhasználó értékelte átlagosan 4.8 csillagra
Oldal 1/10
0 1
INSTRUCTION MANUAL
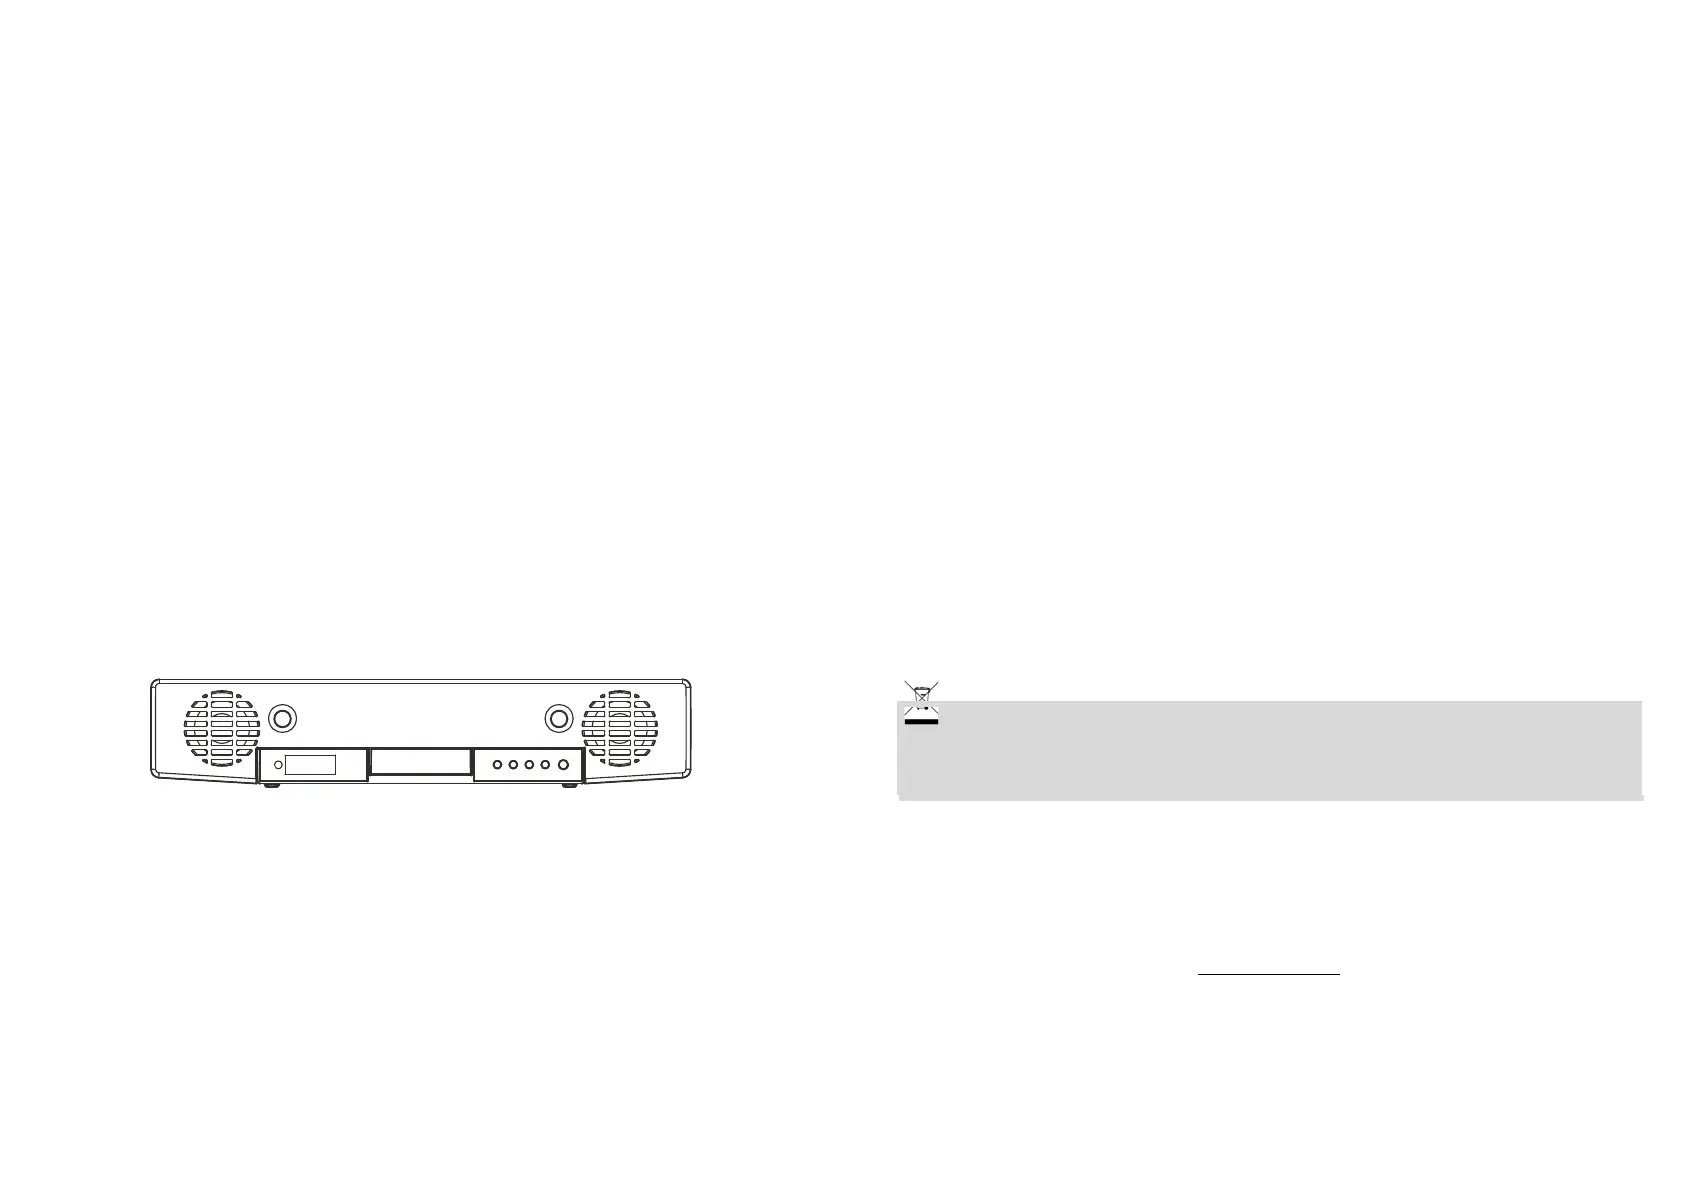
ODYS - BEAM
DOCKING SOUNDBAR FOR
iPod/iPhone/iPad
WITH PLL FM STEREO CLOCK RADIO
Please read following instructions prior to operating your unit.
Manufacturer of this unit follows a principle of continuous improvement and has no
responsibility for any changes that are made to the unit nor any liability for any changes.
Thanks for your choice of our products.
Disclaimer
All the information, design and specifications contained in this manual were correct
at the time of publication. However, as the product is under development and
upgrading, the final device may have a slightly difference in appearance or modified
functionality than presented in this manual.
Package Content
1. ODYS Beam
2. Remote Control (incl battery)
3. Adapter for iPod/iPhone/iPad
4. Video Cable
5. Manual
6. Warranty Card
Safety Instructions
Although this product is safe, please observe the following information and warnings.
•Do not expose the device to direct sunlight, extreme heat or cold, damp or dusty conditions.
Malfunctions and damage and can occur as a result..
•Do not use the device in an extremely dry environment to avoid static electricity.
•Do not shake the device or subject it to hard knocks. The device may be damaged if it falls.
Do not place any heavy objects on top of the device.
•Clean the device only using a soft, dry cloth and do not use any volatile substances, such as
solvents, to avoid damaging the surface.
•Do not open the casing of the device under any circumstances, and do not attempt to repair
or modify the device.
Disposal
Do not dispose of a defective device in normal household waste disposal containers
Take the defective device to your retailer or to an appropriate waste collection site. This
will ensure that the device is disposed of in an environmentally-friendly way.
Support
URL: http://www.odys.de
See our website for the latest information on this device, on other products by our company
and on our company itself. Any firmware updates for this device are also made available on
our website. If you have questions or problems, please read the FAQs on our website or
contact our customer support service support@odys.de
.
Termékspecifikációk
| Márka: | Odys |
| Kategória: | Ipod Audio |
| Modell: | Beam |
Szüksége van segítségre?
Ha segítségre van szüksége Odys Beam, tegyen fel kérdést alább, és más felhasználók válaszolnak Önnek
Útmutatók Ipod Audio Odys

18 Augusztus 2024
11 Augusztus 2024
Útmutatók Ipod Audio
Legújabb útmutatók Ipod Audio
14 Október 2024
24 Augusztus 2024
23 Augusztus 2024
23 Augusztus 2024
23 Augusztus 2024
23 Augusztus 2024
22 Augusztus 2024
22 Augusztus 2024
22 Augusztus 2024
21 Augusztus 2024