Használati útmutató Oyen Digital MiniPro Dura
Oyen Digital külső merevlemez MiniPro Dura
Olvassa el alább 📖 a magyar nyelvű használati útmutatót Oyen Digital MiniPro Dura (1 oldal) a külső merevlemez kategóriában. Ezt az útmutatót 35 ember találta hasznosnak és 7 felhasználó értékelte átlagosan 4.1 csillagra
Oldal 1/1
MiniPro 3.1 USB-C
User Guide
Connecting using USB C-C
1) Connect the included USB cable to a USB-C port on the computer.
2) Turn the power switch on. Wait 5-20 seconds for the computer
to recognize the drive.
Connecting using USB C-A
1) Connect the included USB cable to a USB 3.1/3.0 /2.0 port on
the computer.
2) Turn the power switch on. Wait 5-20 seconds for the computer
to recognize the drive.
Note: The MiniPro is powered using the computer’s USB port.
An optional 5V/2A power adapter is available for those who desire
to use external power. Please visit our website for details.
.
Windows 7/8/10 or higher
4.9 x 3.2 x 0.77 inches
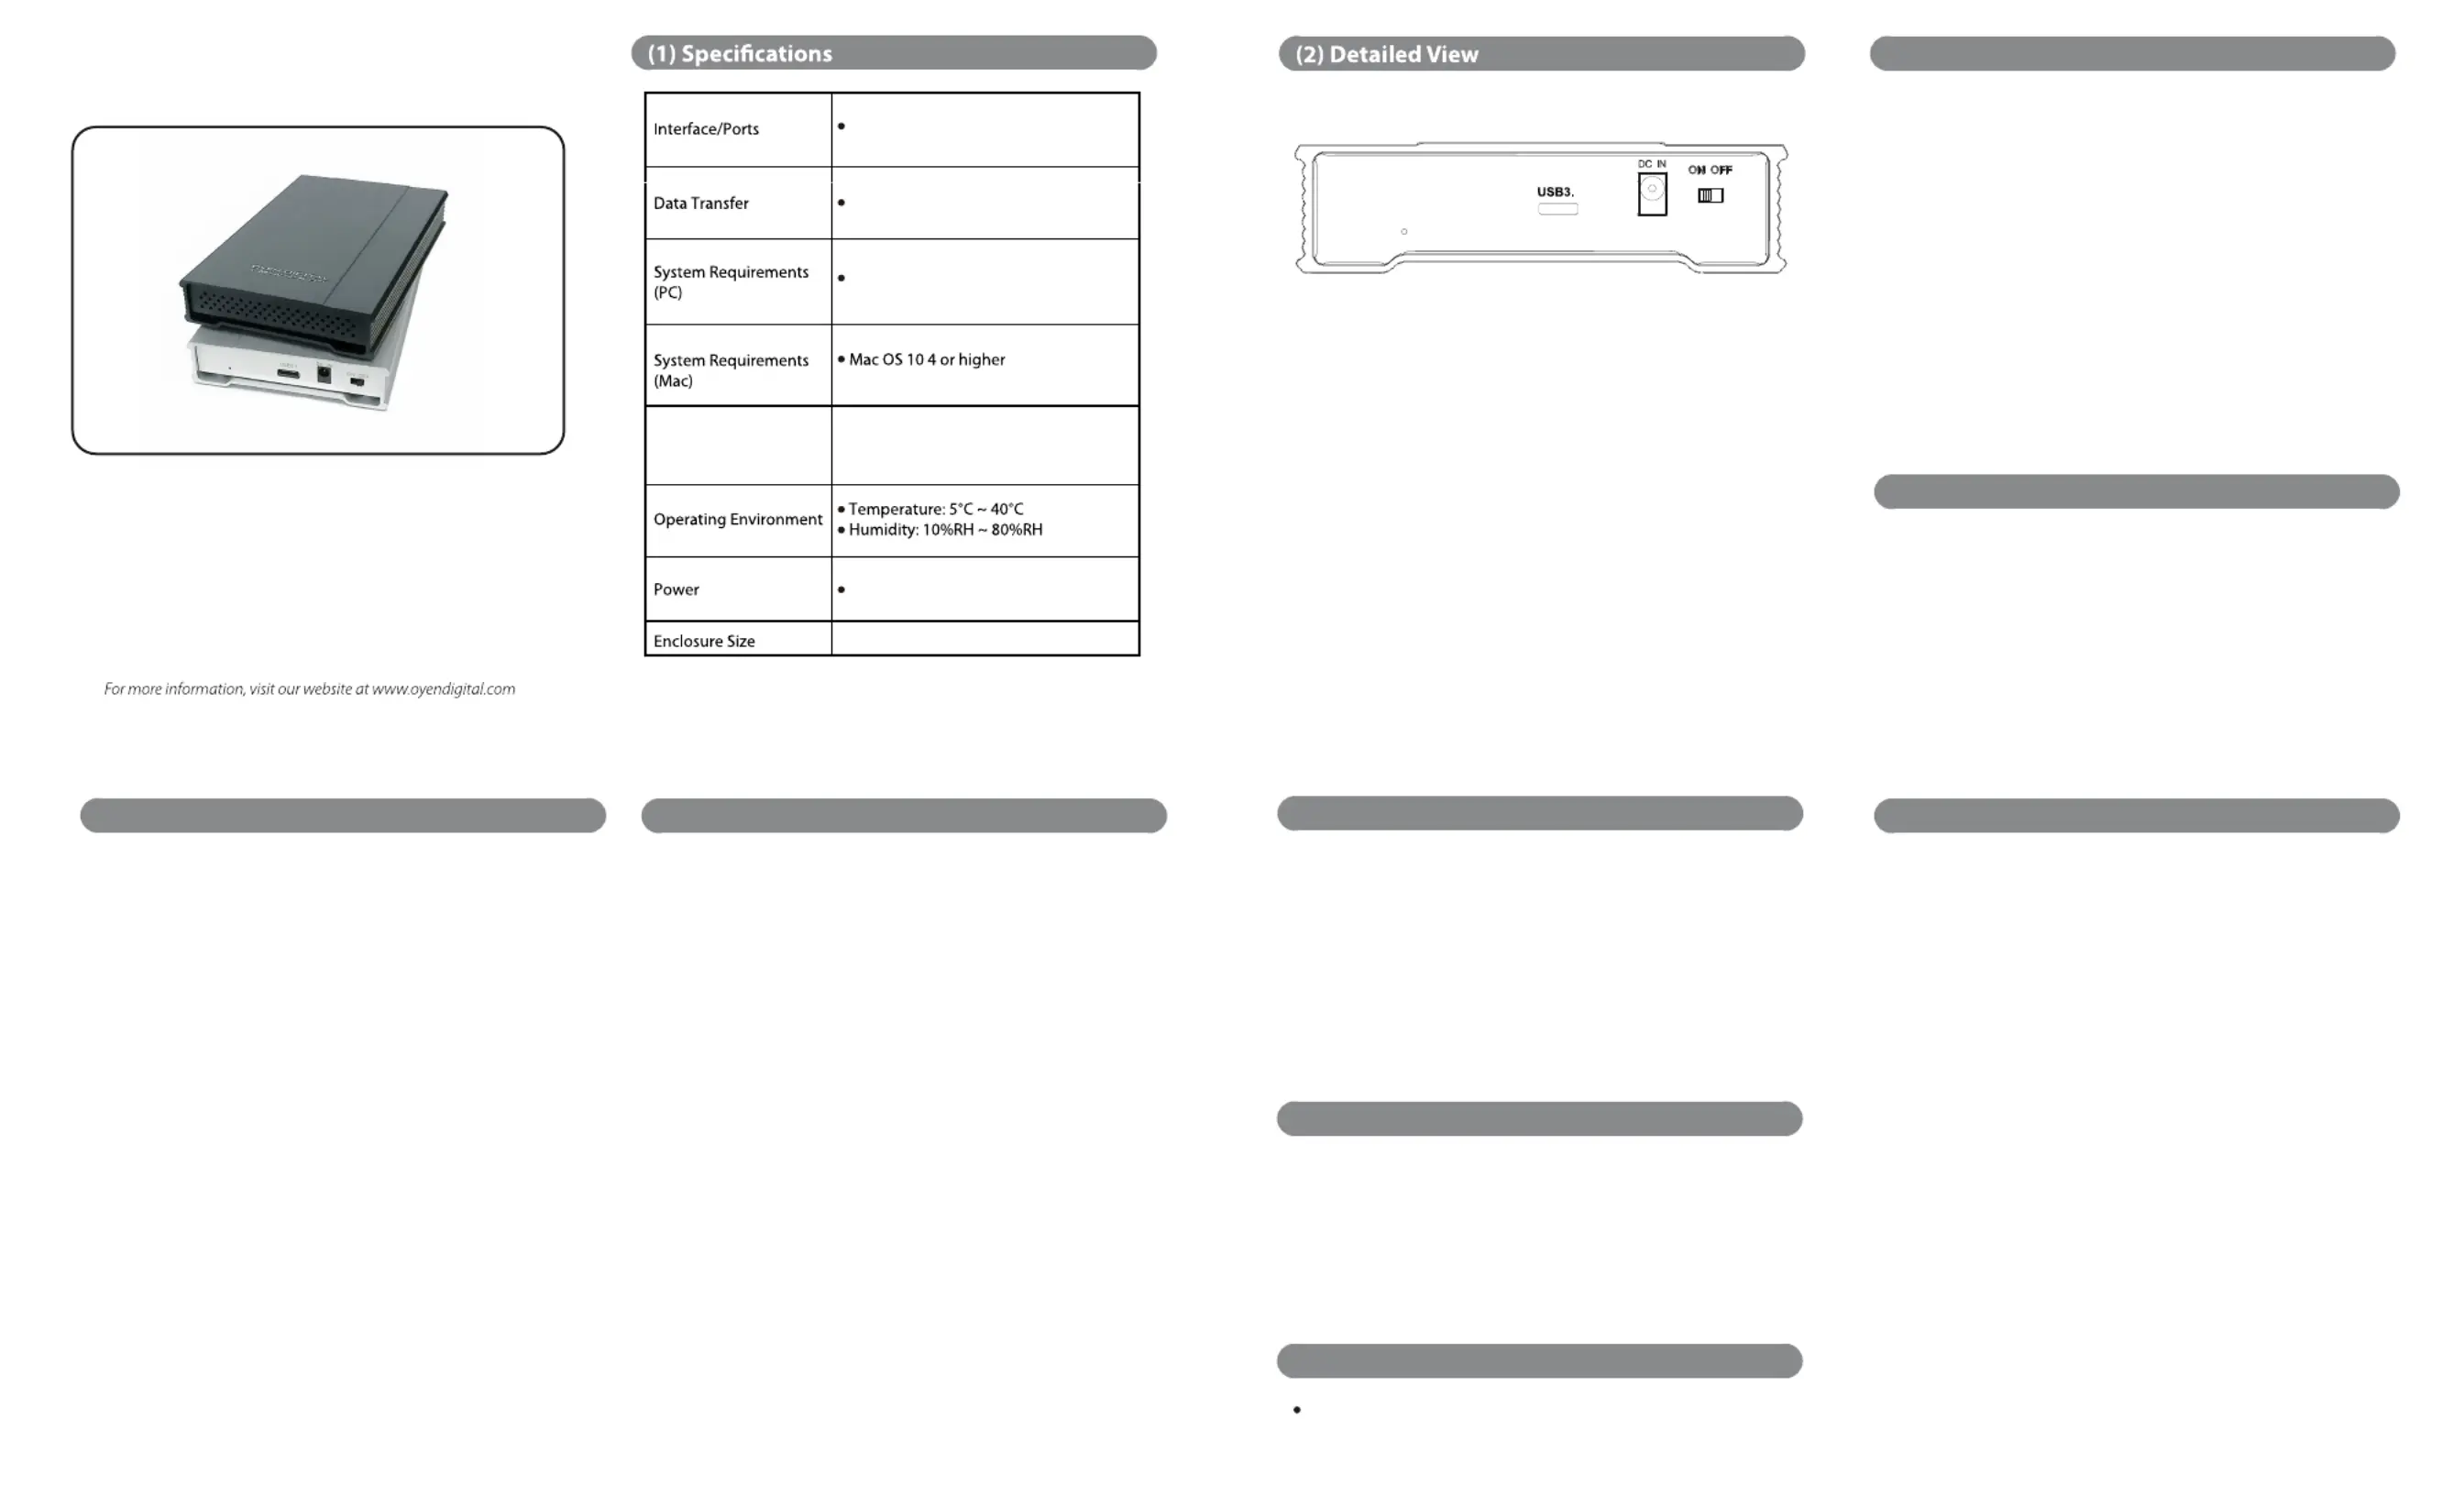
LED indicator:
O = Power OFF
Solid = Power ON
Flashing = Read/Write Access
USB-C (USB 3.1Gen2 Super Speed+)
USB 3.1 up to 10Gbps
MiniPro 3.1 USB-C
1
(LED)
USB bus power or external DC +5V/2A
ChipsetASMedia 1351
(3) Connecting the MiniPro
(4) Formatting the Drive
The drive is pre-formatted as exFAT, which is compatible with
Windows and Mac OS. For users who wish to reformat the drive,
please visit the links for instructions.
To reformat using Windows:
http://oyendigital.com/windows-reformat.html
To reformat using MAC OS:
http://oyendigital.com/mac-reformat.html
(5) Using the MiniPro (continued)
(6) Disconnecting the MiniPro
(7) Warranty Information
(9) FAQs
Using the MiniPro with Apple Time Machine
1) Format the drive as Mac OS Extended (Journaled) as described in the
“Formatting the Drive” section.
2) Go to the Apple Menu > System Preferences and click on the
Time Machine icon to launch the app.
3) Click ‘On’ to enable Time Machine.
4) Select the MiniPro drive and choose “Use for Backup.”
5) Time Machine is now backing up your Mac automatically to the
MiniPro.
(8) Safety Information
The drive contained in your MiniPro is an electronic device
and is susceptible to damage due to excessive physical shock.
Please handle the unit with care.
This product includes a three (3) year repair/replacement
warranty provided by Oyen Digital. This warranty is non-
transferable and is limited to the original purchaser. Warranty
service may be requested by completing the form at the
following link: www.oyendigital.com/rma-request-form.html
For our complete warranty policy, visit:
www.oyendigital.com/warranty.html
Windows: Close all windows and applications that are accessing
the drive. Click the “Eject Hardware” (Safely Remove
Hardware) icon in the system tray and highlight the drive.
Wait for a few seconds until the system prompts “You may safely
remove this device.”
MAC: Close all windows and applications that are accessing the
drive. Drag the external drive to the Trash/Eject icon to eject it.
After the disk icon has disappeared from the desktop, you may
safely disconnect the external drive.
(5) Using the MiniPro
The MiniPro does not include pre-installed software. For le
backup, we recommend the apps within Windows and Mac.
Using the MiniPro with Windows Backup
Windows 7:
Enter “Backup and Restore” in the search box and open the
app. Click ‘Set as Backup’ and choose the MiniPro and
click Next. Select ‘Save Settings and Run Backup.’
Additional resources:
https://support.microsoft.com/en-us/help/17127/windows-back-up-restore
Windows 8:
Enter “File History” in the search box and open the app.
Click ‘Select a drive’, and choose the MiniPro. Turn on
File History to start the backup.
Additional resources:
https://support.microsoft.com/en-us/help/17128/windows-8-file-history
Windows 10:
Enter “Settings” in the search bar and open the app.
Click ‘Update & security’ and select ‘Backup > Add a drive.’
Select the MiniPro to start the backup.
Additional resources:
https://support.microsoft.com/en-us/help/17143/windows-10-back-up-your-files
Q: Can I use a Thunderbolt 3 cable with the MiniPro 3.1?
A: No, a Thunderbolt 3 cable such as the one included
with the 2016 MacBook Pro will not function properly
with the MIniPro 3.1. We recommend only using the USB-C
cable included with the MiniPro.
Q: Is the MiniPro compatible with Thunderbolt 2 using a
Thunderbolt 3 adapter?
A: No, the MiniPro 3.1 is not compatible with
Thunderbolt 2 using an adapter of any make or model.
For other questions please contact tech support or visit the FAQ
section of our Web site (www.oyendigital.com/support.html).
Technical Support: tech@oyendigital.com
Termékspecifikációk
| Márka: | Oyen Digital |
| Kategória: | külső merevlemez |
| Modell: | MiniPro Dura |
Szüksége van segítségre?
Ha segítségre van szüksége Oyen Digital MiniPro Dura, tegyen fel kérdést alább, és más felhasználók válaszolnak Önnek
Útmutatók külső merevlemez Oyen Digital

31 Augusztus 2024
31 Augusztus 2024
31 Augusztus 2024
31 Augusztus 2024
31 Augusztus 2024
31 Augusztus 2024
31 Augusztus 2024
15 Május 2024
Útmutatók külső merevlemez
Legújabb útmutatók külső merevlemez
30 Március 2025
4 Január 2025
3 Január 2025
3 Január 2025
1 Január 2025
1 Január 2025
1 Január 2025
1 Január 2025
31 December 2025
31 December 2025