Használati útmutató Rocstor Y10E028-B1
Rocstor nincs kategorizálva Y10E028-B1
Olvassa el alább 📖 a magyar nyelvű használati útmutatót Rocstor Y10E028-B1 (5 oldal) a nincs kategorizálva kategóriában. Ezt az útmutatót 19 ember találta hasznosnak és 5 felhasználó értékelte átlagosan 5.0 csillagra
Oldal 1/5
®
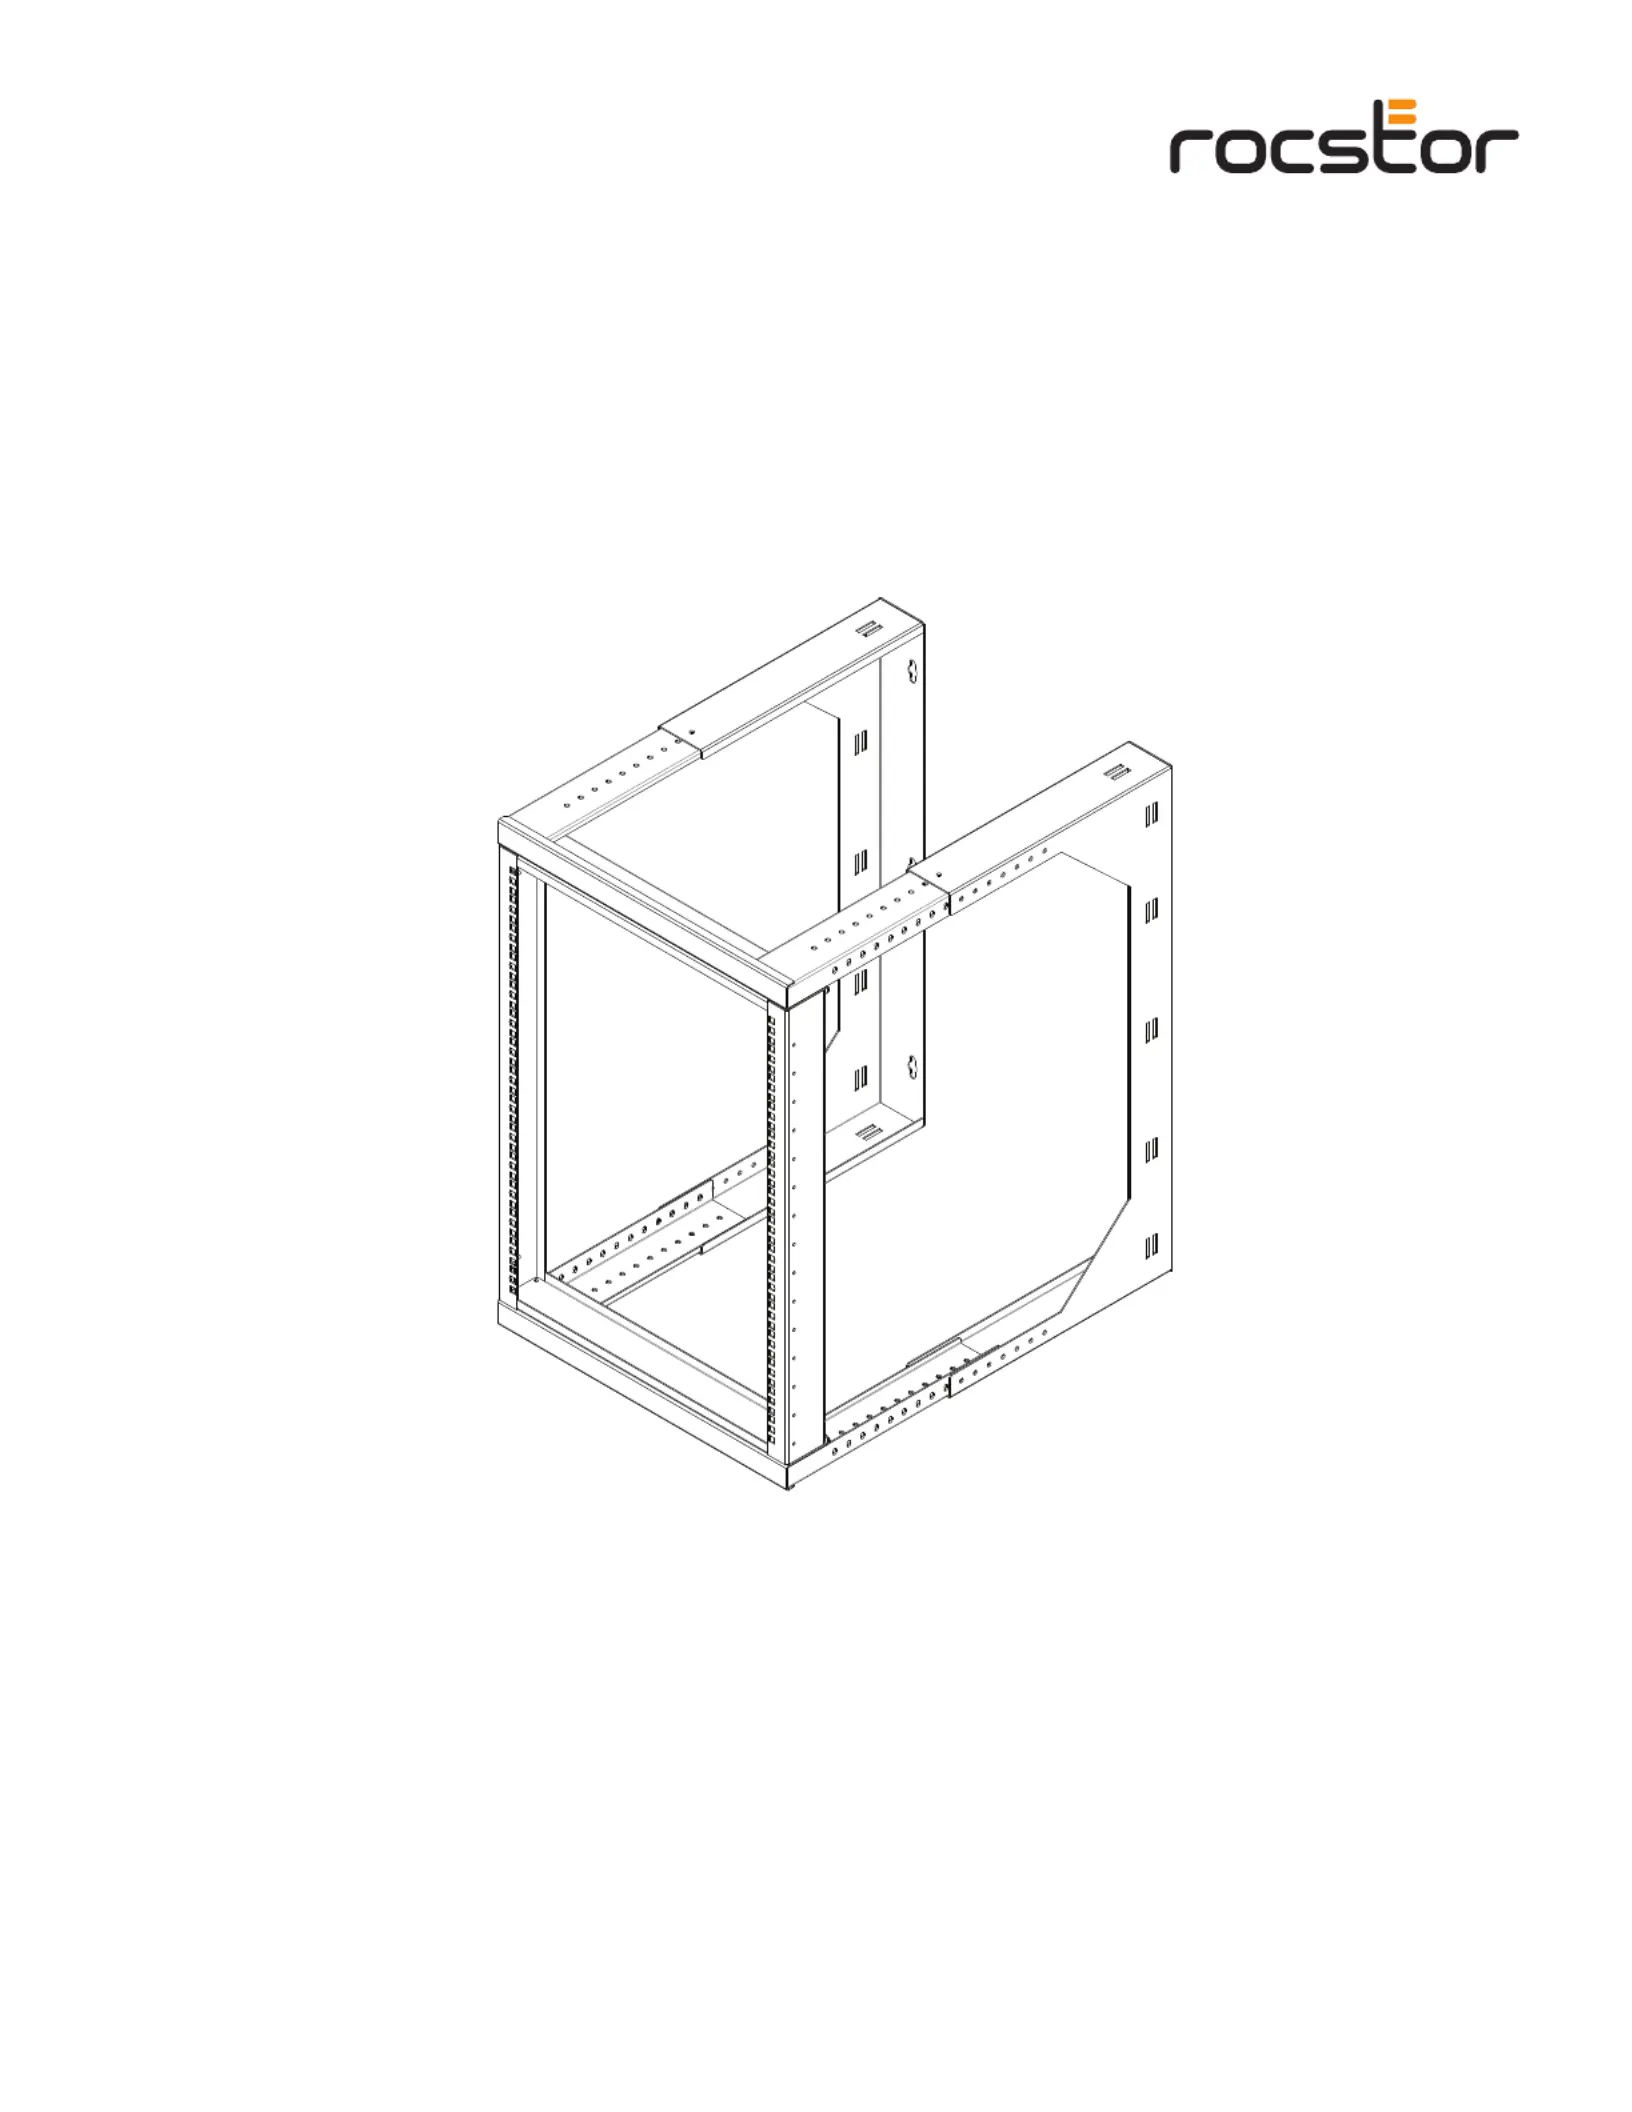
SolidRack Wall Mount Rack 2-Post Open Frame
Adjustable Depth
User Manual
Termékspecifikációk
| Márka: | Rocstor |
| Kategória: | nincs kategorizálva |
| Modell: | Y10E028-B1 |
Szüksége van segítségre?
Ha segítségre van szüksége Rocstor Y10E028-B1, tegyen fel kérdést alább, és más felhasználók válaszolnak Önnek
Útmutatók nincs kategorizálva Rocstor

16 Január 2025
16 Január 2025
16 Január 2025
11 December 2024
11 December 2024
11 December 2024
3 Szeptember 2024
3 Szeptember 2024
3 Szeptember 2024
3 Szeptember 2024
Útmutatók nincs kategorizálva
Legújabb útmutatók nincs kategorizálva
10 Április 2025
10 Április 2025
10 Április 2025
9 Április 2025
9 Április 2025
9 Április 2025
9 Április 2025
9 Április 2025
9 Április 2025
9 Április 2025