Használati útmutató Axton A100
Olvassa el alább 📖 a magyar nyelvű használati útmutatót Axton A100 (17 oldal) a Vevő kategóriában. Ezt az útmutatót 9 ember találta hasznosnak és 5 felhasználó értékelte átlagosan 4.6 csillagra
Oldal 1/17

INSTALLATION & OPERATION MANUAL
EINBAU & BEDIENUNGSANLEITUNG
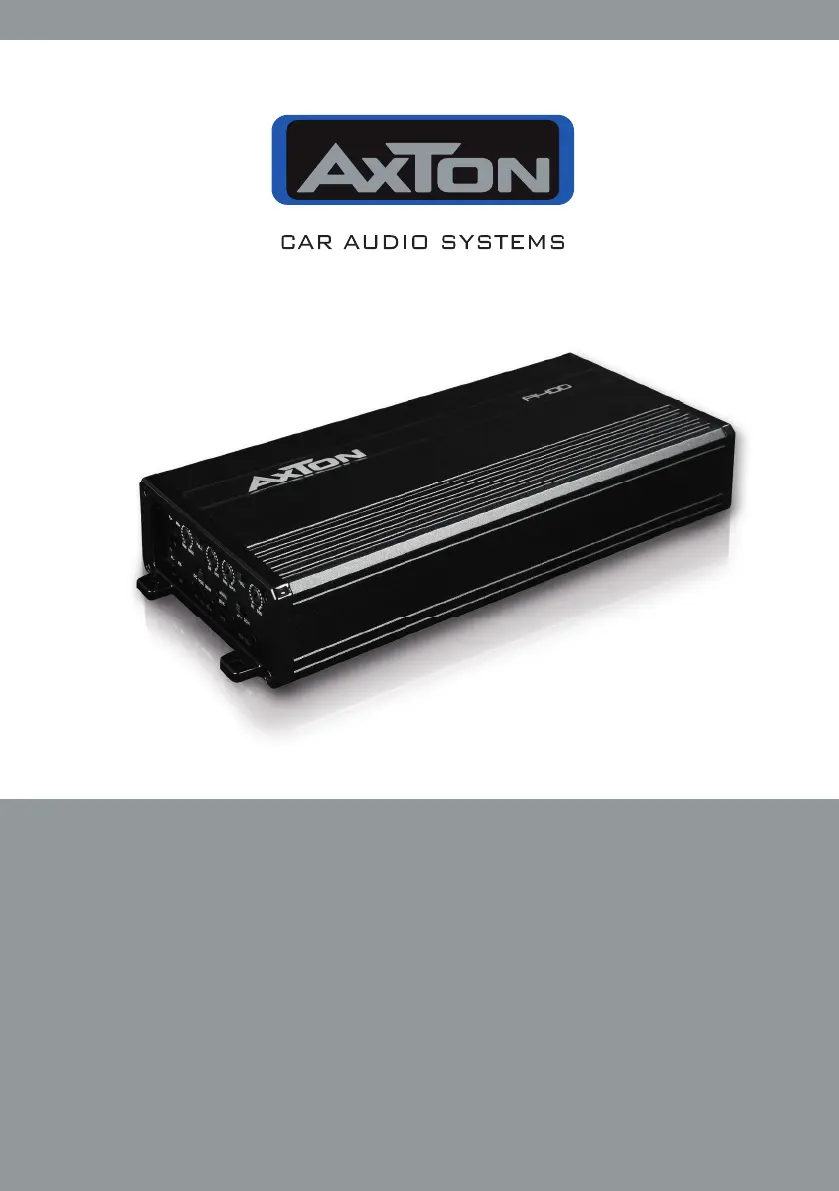
1-/2-/4-/5-CHANNEL POWER AMPLIFIERS
A100 A200 A400 A500 I I I

– 2 –
1. CONNECTIONS + CONTROLS A100 - PAGE I
1 SIGNAL INPUTS R / L
Low-level stereo RCA signal or high-level speaker signal input terminal for connection to
head-unit.
2 AUTO-TURN-ON MODE
Slide switch to select the auto-turn-on function: REM by remote wire, VOX to switch on
bymusicsignalorDCbyDCoffsetsignaloftheheadunitsintegratedamplier.
3 INPUT GAIN CONTROL
Input gain potentiometer for the subwoofer output channel, to match the output voltage
oftheheadunittotheamplier’sinput.
4 SUBSONIC HIGHPASS FREQUENCY CONTROL
Controlpotentiometertoadjustthesubsonichighpasslteringfrequencypointofthe
subwoofer output channel.
5 BASS BOOST 0dB to + 18dB
Turn clockwise to get up to + 18dB bass boost or counterclockwise for no boost with a
45Hzcenterfrequencyoftheampliedoutputsignal.
6 LOWPASS FREQUENCY CONTROL
Controlpotentiometertoadjustthelowpasslteringfrequencypointofthesubwoofer
output channel.
7 BASS LEVEL REMOTE CONTROL INPUT 1/2-CH
Inputterminaltoconnecttheexternalbasslevelremotetotheamplier.
8 POWER LED
LEDtoshowtheoperatingstatusoftheamplierbyblue/redillumination.Blueis
normalworkingstate,redisprotectmodeofamplier.
9 INPUT MODE SELECTION
Switch to select the proper input sensitivity range: RCA signal input = Low. Speaker
signal input = Hi.
10 SPEAKER OUTPUT TERMINAL
Outputterminaltoconnectthespeakerstotheamplier.
11 “+12 V” POWER INPUT TERMINAL
Terminaltoconnecttheampliertothepositive+12Vpoleofthecarbattery.
12 “REM” INPUT TERMINAL
Terminaltoconnecttheampliertotheautomatic(remote)turn-on/turn-offleadofthe
head unit. By using the REM terminal, you need to switch the Auto-turn-On mode
2 to
the “REM” position.
ThankyouforpurchasingthisAXTONamplier!
Tomaximizetheperformanceofthisamplierandyourcompletecaraudiosysteminstall,we
recommendthatyouacquaintyourselfthoroughlywithalltechnicalfeaturesandcontrolling
options of thisAXTONamplier. Please read this manual carefully, before attempting the
installation.
If,afterreadingthismanual,youstillhavequestionsregardingfunctionsortheinstallationof
theamplier,werecommendthatyouconsultyourdealer.

– 4 –
1. CONNECTIONS + CONTROLS A200 - PAGE I
1 SIGNAL INPUTS R / L
Low-level stereo RCA signal or high-level speaker signal input terminal for connection
to head-unit.
2 AUTO-TURN-ON MODE
Slide switch to select the auto-turn-on function: REM by remote wire, VOX to switch on
bymusicsignalorDCbyDCoffsetsignaloftheheadunitsintegratedamplier.
3 INPUT MODE SELECTION
Switch to select the proper input sensitivity range: RCA signal input = Low. Speaker
signal input = Hi.
4 INPUT GAIN CONTROL
Input gain potentiometer for the subwoofer output channel, to match the output voltage
oftheheadunittotheamplier’sinput.
5 OPERATION MODE SWITCH
SlideswitchtoselecttheoperationmodeoftheX-overoftheamplier:Highpass
[HPF],Lowpass[LPF]orfullsignal
6 X-OVER FREQUENCY CONTROL
Controlpotentiometertoadjustthehighpassorlowpasslteringfrequencyofthe
amplier.
7 POWER LED
LEDtoshowtheoperatingstatusoftheamplierbyblue/redillumination.Blueis
normalworkingmode,redisprotectmodeofamplier.
8 SPEAKER OUTPUT TERMINAL
Outputterminaltoconnectthespeakerstotheamplierineitherstereoorbridged
mode.
9 “+12 V” POWER INPUT TERMINAL
Terminaltoconnecttheampliertothepositive+12Vpoleofthecarbattery.
10 “REM” INPUT TERMINAL
Terminaltoconnecttheampliertotheautomatic(remote)turn-on/turn-offleadofthe
head unit. By using the REM terminal, you need to switch the Auto-turn-On mode
2
to the “REM” position.
11 “GND” POWER INPUT TERMINAL
Terminaltoconnecttheampliertothechassisgroundornegativepoleofthecar
battery.
Termékspecifikációk
Márka: | Axton |
Kategória: | Vevő |
Modell: | A100 |
Szüksége van segítségre?
Ha segítségre van szüksége Axton A100, tegyen fel kérdést alább, és más felhasználók válaszolnak Önnek
Útmutatók Vevő Axton
3 Október 2024
21 Augusztus 2024
21 Augusztus 2024
19 Augusztus 2024
18 Augusztus 2024
18 Augusztus 2024
18 Augusztus 2024
17 Augusztus 2024
17 Augusztus 2024
17 Augusztus 2024
Útmutatók Vevő
- Vevő MEE Audio
- Vevő Graupner
- Vevő Plantronics
- Vevő TechniSat
- Vevő Philips
- Vevő Aiwa
- Vevő Memphis Audio
- Vevő Parasound
- Vevő Chamberlain
- Vevő Williams Sound
- Vevő FoneStar
- Vevő Seco-Larm
- Vevő Tangent
- Vevő Palsonic
- Vevő Jung
Legújabb útmutatók Vevő
9 Április 2025
9 Április 2025
5 Április 2025
5 Április 2025
2 Április 2025
2 Április 2025
2 Április 2025
31 Március 2025
31 Március 2025
30 Március 2025