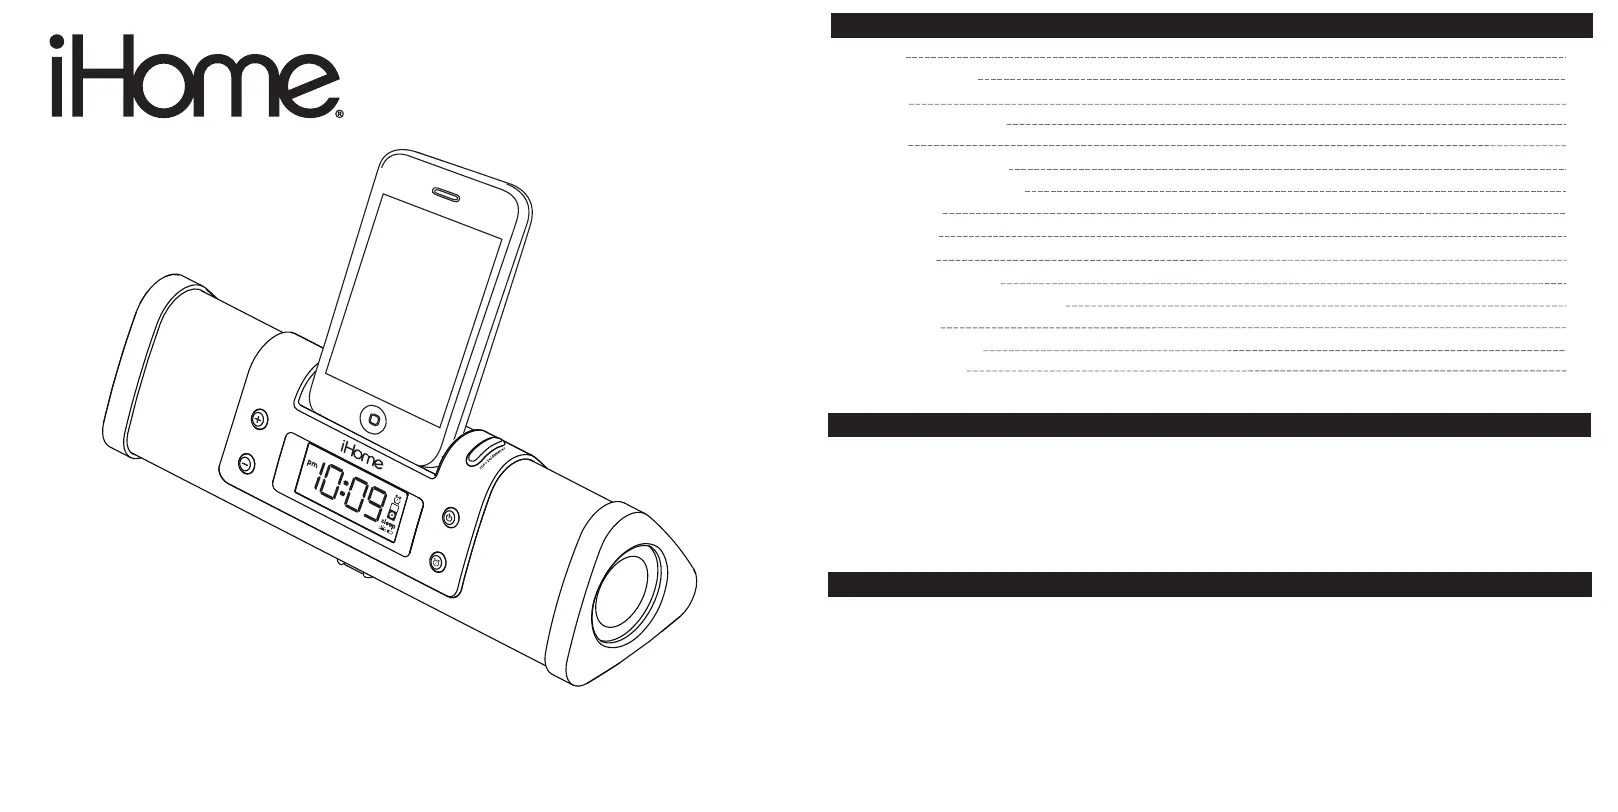
Használati útmutató IHome iP16
Olvassa el alább 📖 a magyar nyelvű használati útmutatót IHome iP16 (8 oldal) a Óra rádió kategóriában. Ezt az útmutatót 28 ember találta hasznosnak és 8 felhasználó értékelte átlagosan 4.3 csillagra
Oldal 1/8
5
Setting the Time using Time Sync
Time sync mode allows you to sync the iP16 to the time from your iPhone or recent models of iPod like iPod
Touch, iPod Nano and iPod Classic (older models such as iPod Mini do not support this feature).
1. Make sure your iPhone or iPod is properly docked. Press the Clock Adj. Button located at the back of the unit.
“SYN” will appear on the display, indicating sync function is in progress.
2. After sync is complete, the display will show the current time from your iPhone/iPod clock and two beeps will
confirm time sync is done.
3. If time sync fails, 2 second long beeps sound and the unit exits time sync mode. Try syncing again with a different iPhone
or iPod or set time manually (see below).
NOTE: The iPhone is constantly updated to current time via cell phone towers. The time on your iPod is only accurate to
the last time it was synced to a computer. It’s possible to have up to 59 seconds difference between the iP16 and synced
iPhone/iPod.
Setting the Time Manually
1. Press and hold the Clock Adj. Button for 2 seconds until the hour display flashes. Press the or Button until the
current hour is displayed. Remember to set the correct AM or PM time (a PM icon to the left of the time display is the PM
indicator; there is no AM indicator). Note that the PM indicator will not appear when using 24 hour display mode.
2. Press the Clock Adj. Button again. The minute display will flash. Press the or Button until the current minute is
displayed. Hold for rapid advance.
3. Press the Alarm Set Button during time setting to toggle 12-hour or 24-hour display format.
4. Press the Clock Adj. Button again to confirm the clock setting. You will hear 2 beeps indicating the clock time is set.
5. Press the DST on/off Button located on the back of the unit to add one hour for daylight saving time (on) or to subtract
one hour for standard time (off). The icon will appear on the display to indicate DST is on.
Setting the Time
Up/Plus Button
Down/Minus Button
DST On/Off button
Clock Adj. ButtonSleep Button
Power Button
Snooze/Dimmer Button
Alarm Button
DC Jack
2
Controls and Indicators
Front Panel
Back Panel
Press to power unit
ON or OFF
Decrease volume,
time setting
Silence alarm temporarily
or adjust display brightness
Press to add or
subtract 1 hour for
daylight saving time
Increase volume,
time setting
Press and hold for
Clock Adjust mode
Press for Sleep mode
Connect AC adapter
Press and hold for
Alarm Setting mode
3
iP16 Display
Install Clock Backup Battery
Alarm Indicator
Battery Low Indicator
Daylight Saving Time
Indicator
iPhone/iPod Indicator
Sleep Indicator
PM Indicator
Time Display
The iP16 uses a CR2032 button cell battery (included with instructions) to keep
alarm and clock settings in the event of a power failure and 4 “AA” batteries to
maintain alarm operation.
If the Backup Battery has been installed and a power failure occurs or the AC
adaptor is accidentally disconnected, the display backlight will not remain lit, but
current time and alarm time settings will be temporarily maintained. Otherwise,
you must reset the time and alarm settings. If 4 “AA” batteries are installed, alarm will
operate when unit is not connected to AC adaptor.
1. Please make sure the AC adaptor is connected. Otherwise all settings may
be lost during battery replacement.
2. Open and remove the battery compartment door located on the bottom of the unit.
3. Pinch the backup battery release tab and pull the backup battery holder free.
4. Insert one CR2032 button cell battery with the + side facing upwards.
5. Replace the backup battery holder into the unit, then replace the battery
compartment door.
Note: Make sure you dispose of batteries properly (see your local regulations).
Note: Buttons will not function if only back up battery installed.
4
Using iP16
Install AC Adaptor
Connect the AC adaptor cable plug into the jack on the back of the iP16, then plug the
AC adaptor into the wall outlet.
Install iPhone/iPod Insert
Your iP16 comes with a double-sided insert to ensure certain iPhone/iPod models fit
properly in the dock. To place an insert:
1. Identify the side of the insert that matches your iPhone/iPod model (see table on page
1).
2.
Gently press the iPod insert into the dock with the proper side facing the connector
pins.
Install iPhone/iPod Insert
Charging Your iPhone/iPod
1. Dock an already playing iPhone/iPod and the iP16 will automatically turn on. You will hear the music playing from your
iPhone/iPod. Note: If the volume on the playing audio is too low on the iPhone/iPod, the iP16 may not detect that the
iPhone/iPod is in play mode. Press the button once to play iPhone/iPod.
2. When the iPhone/iPod is docked and in standby mode, press the button on the iP16 to play your iPhone/iPod.
3. Press play/pause on your iPhone/iPod to pause play; press again to resume it.
4. Press the or buttons on the iP16 to adjust the system volume.
5. To turn off the unit, press the button on the iP16. Your iPhone/iPod will continue charging while in the dock.
Listening to Your iPhone/iPod
Installing/Replacing Batteries for Portable Operation
The iP16 uses 4 “AA” batteries for portable operation. The iP16 will not charge your iPhone/iPod while operating on
batteries.
If sound becomes weak or distorted, it is time to replace the batteries.
• Open the battery compartment cover located on the bottom of the unit.
• Insert 4 “AA” batteries as indicated. Replace battery compartment cover.
• We recommend the use of alkaline batteries for longer life.
NOTE: To save battery life, when running on batteries, unit will automatically
power OFF after 3 minutes of non-use (no song playing).
Batteries information:
• Do not mix alkaline, standard (carbon -zinc) or rechargeable (nickel-cadmium) batteries.
Note: Please make sure you are using the correct side of the insert for your iPhone/iPod model, if needed (see Install
iPhone/iPod Insert) and that your iPhone/iPod is properly docked into the iP16.
1. While your iPhone/iPod is docked in the unit and the unit is connected to AC power, it recharges until fully charged.
iPhone/iPod will not be overcharged. Unit will not charge iPhone/iPod when operating on batteries.
1
3:iPhone/iPod1:power
Attach the AC adaptor cable to
the DC jack on the back of the
iP16 and plug the other end into a
working wall socket. For portable
operation, remove battery
compartment door on the bottom
of the unit and insert 4 AA batteries
(see diagram on page 4).
RESET
RESET
TEST
TEST
Gently dock iPhone/iPod into dock
(iPhone/iPod must not be in a skin
or case). iPhone/iPod will charge
while docked.
Press thePower ButtonontheiP16
to play the iPhone/iPod.
2:inserts
4:time
Quick Start
See the table below to find which side
of the dock insert matches your
iPhone/iPod model and place insert
in dock. NOTE: iPhone 3G, iPhone
3GS, iPod Classic 160 GB and nano
6G do not require the insert.
1) Turn insert so correct side of the
insert for your iPhone/iPod is facing
the display.
2) Slide insert downwards until it
snaps into place
all iPod nano models
up to nano 5G
no insert needed for
iPod Classic 160 GB
iPhone 3G/3GS
iPod nano 6G
Classic/Touch sideNano side
iPod classic (80, 120 GB)
iPhone 4, iPod touch
For this
iPhone/iPod
Use this insert
Model iP16
Portable Alarm Clock Speaker
System for your iPhone / iPod
®
Questions? Visit www.ihomeaudio.com
1
2
3
3
4
4
4
5
6
7
7
8
9
10
11
Quick Start
Controls and Indicators
iP16 Display
Install Clock Backup Battery
Using iP16
Charging your iPhone / iPod
Listening to your iPhone / iPod
Setting the Time
Alarm Operation
Sleep Operation
Snooze/Dimmer Operation
A Consumer Guide to Product Safety
Trouble Shooting
Solución De Problemas
Warranty Information
Table of Contents
• Place the unit on a level surface away from sources of direct sunlight or excessive heat.
• Protect your furniture when placing your unit on a natural wood and lacquered finish. A cloth or other protective material
should be placed between it and the furniture.
• Clean your unit with a soft cloth moistened only with mild soap and water. Stronger cleaning agents, such as Benzine,
thinner or similar materials can damage the surface of the unit.
NOTE: Be careful not to touch the surface of the speakers at either end of the unit
Maintenance
Getting Started
Thank you for purchasing the iHome iP16 Audio Speaker System for your iPhone/iPod. Designed
specifically to work with your iPhone/iPod, this system provides high quality audio performance that
brings out the best in your music.
Please read this instruction book carefully before operating the iP16 and keep it for future reference.
Check for iPhone/iPod compatibility
iP16 is an advanced system and supports most updated iPod features. To make sure your iPhone/iPod works properly
with iP16, please update your iPhone/iPod firmware with the latest version via iTunes.
Model:iP16-ENGLISH(front)
InstructionManual
ForZowee
Date:April13,2011
Printcolor:1C+1CBlacktextonwhitepaper
Fold:4fold
Size:570Wx284Hmm
FCC Information
Battery Warning
Warning: Changes or modifications to this unit not expressly approved by the party responsible for compliance
could void the user’s authority to operate the equipment.
NOTE: This equipment has been tested and found to comply with the limits for a Class B digital device, pursuant
to Part 15 of the FCC Rules. These limits are designed to provide reasonable protection against harmful interference
in a residential installation. This equipment generates, uses and can radiate radio frequency energy and , if not
installed and used in accordance with the instructions, may cause harmful interference to radio communications.
However, there is no guarantee that interference will not occur in a particular installation. If this equipment does
cause harmful interference to radio or television reception, which can be determined by turning the equipment
off and on, the user is encouraged to try to correct the interference by one or more of the following measures:
• Reorient or relocate the receiving antenna.
• Increase the separation between the equipment and receiver.
• Connect the equipment into an outlet on a circuit different from that to which the receiver is connected.
• Consult the dealer or an experienced radio/TV technician for help.
This Class B digital apparatus complies with Canadian ICES-003.
Cet appareil numérique de la classe B est conforme à la norme NMB-003 du Canada.
This device complies with Part 15 of the FCC Rules. Operation is subject to the following two conditions: (1) This
device may not cause harmful interference, and (2) this device must accept any interference received, including
interference that may cause undesired operation.
For models that use Lithium batteries
•Lithiumbatteriescanexplodeorcauseburnsifdisassembled,shorted,recharged,exposedtowater,fire,orhigh
temperatures & not handled appropriately
• Do not place loose batteries in a pocket, purse, or other container containing metal objects, do not mix with used or other
battery types, or store with hazardous or combustible materials.
• Store in cool, dry, ventilated area.
• Follow applicable laws and regulations for transport and disposal.
For models that require more than one battery
• Do not mix with used or other battery types/brands
• Replace all batteries at the same time
• Do not open batteries
• Do not dispose of in fire
• Do not heat above 75ºC (167ºF)
• Do not expose contents to water
• Do not charge or recharge
• Do not install backwards
To use Time Sync, dock your iPhone or iPod touch and press the Clock
Adj. Button. SYN will appear on the display and the unit will sync to the
time on your iPhone or iPod.
To set time manually,
• Press the DST On/Off Button on the back of the unit as needed to add
or subtract an hour for daylight saving time or standard time.
• Press & Hold the Clock Adj. button on the back of the unit until
the hour display flashes.
• Press the + or - buttons to set the hour, then press the Clock Adj. button
• Press the + or - buttons to set the minutes then press the Clock Adj.
button again to confirm time setting.
Installing Backup Battery
Pinch to release
Termékspecifikációk
| Márka: | IHome |
| Kategória: | Óra rádió |
| Modell: | iP16 |
Szüksége van segítségre?
Ha segítségre van szüksége IHome iP16, tegyen fel kérdést alább, és más felhasználók válaszolnak Önnek
Útmutatók Óra rádió IHome

22 Szeptember 2024
27 Augusztus 2024
27 Augusztus 2024
27 Augusztus 2024
27 Augusztus 2024
27 Augusztus 2024
27 Augusztus 2024
27 Augusztus 2024
27 Augusztus 2024
27 Augusztus 2024
Útmutatók Óra rádió
Legújabb útmutatók Óra rádió
7 Április 2025
4 Április 2025
16 Január 2025
16 Január 2025
15 Január 2025
15 Január 2025
15 Január 2025
15 Január 2025
15 Január 2025
15 Január 2025