Használati útmutató AXESS AXTC-LN11
AXESS
nincs kategorizálva
AXTC-LN11
Olvassa el alább 📖 a magyar nyelvű használati útmutatót AXESS AXTC-LN11 (4 oldal) a nincs kategorizálva kategóriában. Ezt az útmutatót 16 ember találta hasznosnak és 8.5 felhasználó értékelte átlagosan 4.7 csillagra
Oldal 1/4
AXTC-LN11
INSTALLATION INSTRUCTIONS
AxxessInterfaces.com © COPYRIGHT 2023 METRA ELECTRONICS CORPORATION REV. 4/7/23 INSTAXTC-LN11
INTERFACE FEATURES
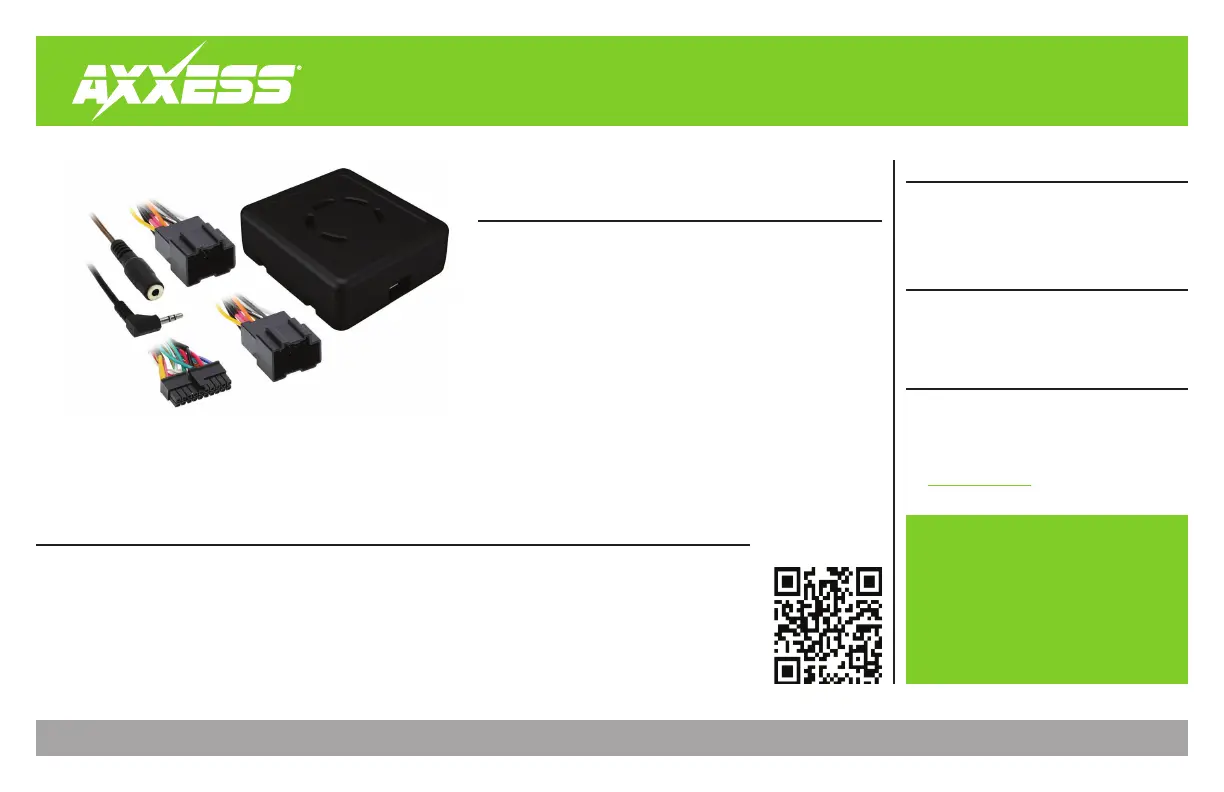
INTERFACE COMPONENTS
TOOLS & INSTALLATION ACCESSORIES REQUIRED
• Crimping tool and connectors, or solder gun,
solder, and heat shrink • Tape • Wire cutter
• Zip ties
TABLE OF CONTENTS
Connections ............................................................2
Programming .........................................................3
Troubleshooting.....................................................4
GM Data Interface with SWC 2006-2012
APPLICATIONS
• Provides retained accessory
power (10-amp)
• Provides illumination, parking
brake, reverse, and speed sense
outputs
• Retains warning chimes
through an onboard speaker
• Retains audio controls on the
steering wheel
• Designed to be compatible with
all major radio brands
• Auto detects vehicle type, radio
connection, and preset controls
• Ability to dual assign steering
wheel control buttons
• Retains memory settings even
after battery disconnection or
interface removal (non volatile
memory)
• Designed for non-amplified
models, or when bypassing a
factory amplifier
• Retains balance and fade
• Micro-B USB updatable
Chevrolet
Cobalt ............2007-2010
HHR ................2006-2011
Malibu ...........2008-2012
Pontiac
G5 .................2007-2009
G6 (1) ..................... 2009
G6 ............................2010
Solstice ......... 2006-2009
Saturn
Aura .............2007-2009
Sky................2007-2009
• AXTC-LN11 interface
• AXTC-LN11 harness
• 3.5mm adapter
(1) 5th digit of VIN must be a J, K, or L
Product Info
ATTENTION: With the key out of the ignition,
disconnect the negative battery terminal
before installing this product. Ensure that all
installation connections, especially the air
bag indicator lights, are plugged in before
reconnecting the battery or cycling the ignition
to test this product.
NOTE: Refer also to the instructions included
with the aftermarket accessory before
installing this device.
Visit AxxessInterfaces.com for more detailed information
about the product and up-to-date vehicle specific applications.
Termékspecifikációk
| Márka: | AXESS |
| Kategória: | nincs kategorizálva |
| Modell: | AXTC-LN11 |
Szüksége van segítségre?
Ha segítségre van szüksége AXESS AXTC-LN11, tegyen fel kérdést alább, és más felhasználók válaszolnak Önnek
Útmutatók nincs kategorizálva AXESS

11 Január 2025

28 December 2024

28 December 2024

28 December 2024

28 December 2024

10 Szeptember 2024

4 Szeptember 2024

4 Szeptember 2024

4 Szeptember 2024

4 Szeptember 2024
Útmutatók nincs kategorizálva
- nincs kategorizálva Teenage Engineering
- nincs kategorizálva Alpen Kreuzer
- nincs kategorizálva Candy
- nincs kategorizálva ION
- nincs kategorizálva Auto XS
- nincs kategorizálva X-Lite
- nincs kategorizálva Neewer
- nincs kategorizálva Moleskine
- nincs kategorizálva Companion
- nincs kategorizálva Elinchrom
- nincs kategorizálva Crane Song
- nincs kategorizálva Youin
- nincs kategorizálva Monogram
- nincs kategorizálva Marshall Electronics
- nincs kategorizálva Doffler
Legújabb útmutatók nincs kategorizálva

10 Április 2025

10 Április 2025

10 Április 2025

9 Április 2025

9 Április 2025

9 Április 2025

9 Április 2025

9 Április 2025

9 Április 2025

9 Április 2025