Használati útmutató Carrier 50NL
Olvassa el alább 📖 a magyar nyelvű használati útmutatót Carrier 50NL (6 oldal) a nincs kategorizálva kategóriában. Ezt az útmutatót 21 ember találta hasznosnak és 7 felhasználó értékelte átlagosan 4.3 csillagra
Oldal 1/6
Owner’s Information Manual
A09033
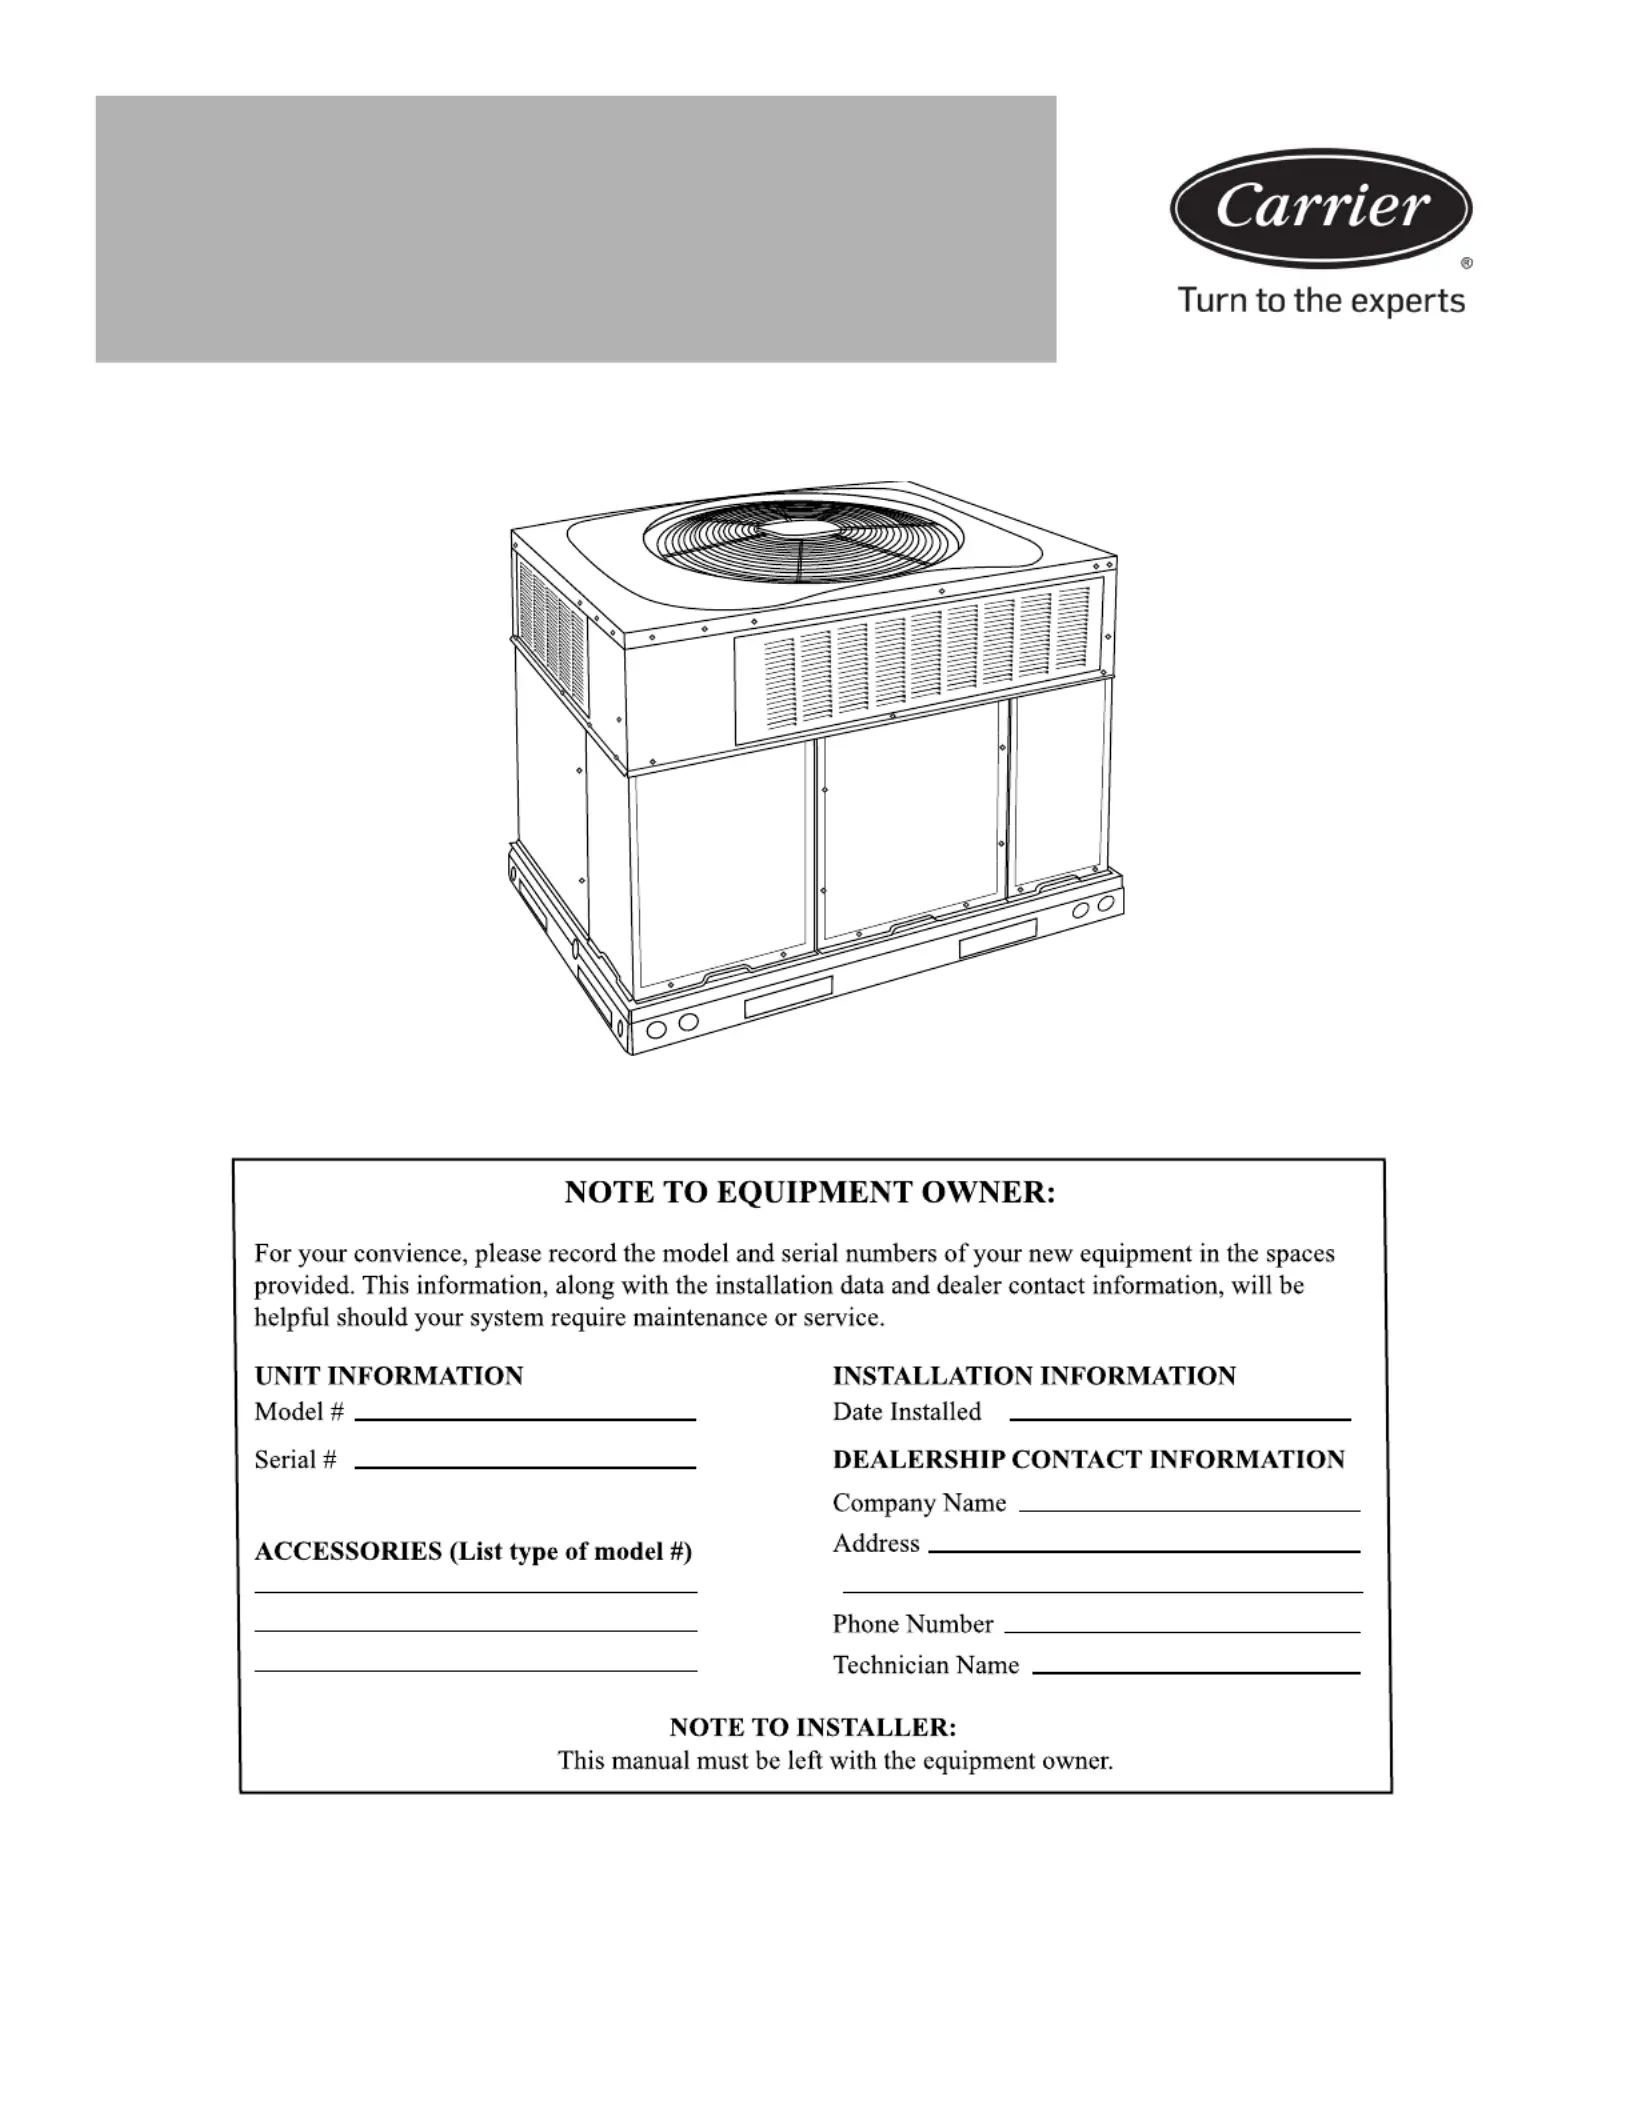
Fig. 1 – Unit 50NL
Our products are designed, tested and built in accordance with DOE standardized procedures; however, actual operating results and efficiencies may
vary based on manufacturing and supplier tolerances, equipment configuration, operating conditions and installation practices.
50NL
Comfort™ 13.4 SEER2 Single and Three Phase
Single Packaged Air Conditioner System
with Puron Advance™ (R-454B) Refrigerant
2-5 Nominal Tons (Sizes 24-60)
Termékspecifikációk
| Márka: | Carrier |
| Kategória: | nincs kategorizálva |
| Modell: | 50NL |
Szüksége van segítségre?
Ha segítségre van szüksége Carrier 50NL, tegyen fel kérdést alább, és más felhasználók válaszolnak Önnek
Útmutatók nincs kategorizálva Carrier

1 Április 2025
1 Április 2025
27 Március 2025
27 Március 2025
27 Március 2025
27 Március 2025
3 Január 2025
3 Január 2025
27 Augusztus 2024
Útmutatók nincs kategorizálva
Legújabb útmutatók nincs kategorizálva
10 Április 2025
10 Április 2025
10 Április 2025
9 Április 2025
9 Április 2025
9 Április 2025
9 Április 2025
9 Április 2025
9 Április 2025
9 Április 2025